Your First Steps into Pastel Art: Tools, Paper, and Essential Tips
Pastel is a vibrant and versatile medium made from pure pigment and a binder. Soft, powdery, and luminous, pastels act as a bridge between drawing and painting. They offer rich colors that can be layered, blended, or left raw for expressive textures.
In this post, we’ll explore the essentials: types of pastels, basic techniques, and the materials you’ll need to begin your pastel journey.
What Makes Pastel Unique?
Pastel artworks are known for their immediacy and luminosity — you apply pure pigment directly to the surface, creating a tactile, painterly experience with minimal tools.
Whether you call your work a pastel drawing or a pastel painting depends on your approach:
- If the surface is fully covered, creating a dense, layered effect, it’s considered a painting.
- If the work retains visible lines or areas of the paper, it’s generally called a drawing.
This flexibility makes pastel one of the most direct and expressive mediums in art.
Types of Pastels
Each type of pastel behaves differently, so understanding these variations helps you choose the best one for your needs.
| Type | Description | Recommended Brands | Notes |
| Hard Pastels | Firm texture, less dusty, great for details and underlayers | NuPastel | Ideal for sketching and fine details |
| Medium Soft Pastels | Softer texture with rich color, easy blending | Rembrandt, Mungyo | Balanced control and vibrancy |
| Soft Pastels | Velvety texture, maximal pigment load | Sennelier, Unison | Mainly for final layers and highlights Advanced use — best introduced later |
| Pastel Pencils | Pencil form for detailed pastel work | Caran d’Ache, Stabilo CarbOthello | Perfect for sketching and details |
- Hard Pastel: Often used for sketching and detail work (NuPastel is a popular example).
- Medium Soft Pastel: Offers a balance between rich color and control (Rembrandt is a reliable choice).
- Soft Pastel: Extra creamy and vibrant, but trickier for beginners since their texture fills paper tooth more quickly and can make further layering difficult.
- Pastel Pencils: Great for fine lines and small details.
For beginners, I recommend starting with hard and medium-soft pastels — they’re easier to control and less messy.
Choosing a Surface
Pastel requires a textured surface (called tooth) to grip the pigment.
- Pastel/Charcoal Paper: A great starting point; available in many colors.
- Sanded Paper: Excellent for layering.
- Bristol Paper: Smooth and less ideal, but usable for sketches.
- Pastel Board: Rigid, professional-grade surface.
- Handmade Surfaces: Create your own surface using gesso mixed with fine pumice powder.
Papers vary in texture and weight, so experiment to find what suits your approach best.
Materials for Beginners
Curious about starting with pastel art? Here are simple, affordable supplies I use and recommend, so you can begin with confidence.
Some links are affiliate links, meaning I earn a small commission if you purchase—at no extra cost to you. Thanks for supporting my educational content!
Basic Supplies
- Hard Pastel Set:
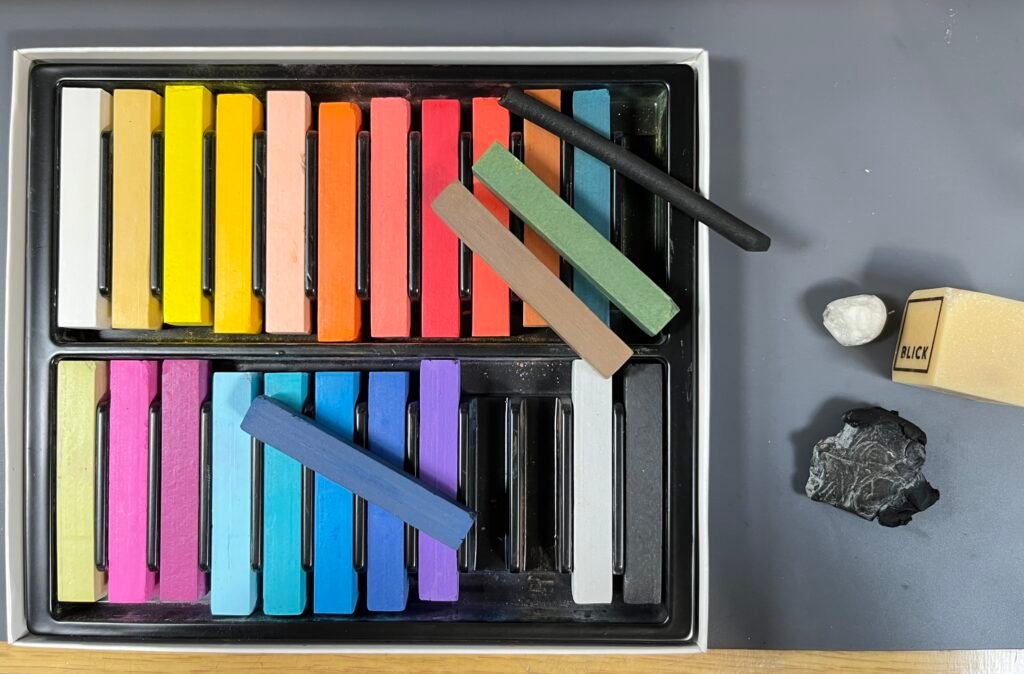
- Dick Blick 24-Color Pastel Set (featured in this demo)—good value in price and quality for beginners.
- NuPastel—Available in Set of 24, Set of 36, or Set of 96 colors. Choose the size that fits your needs and budget. Strongly recommended if you plan to keep exploring pastels.
- Medium Soft Pastel Set (optional for beginners for smoother blending & richer color):
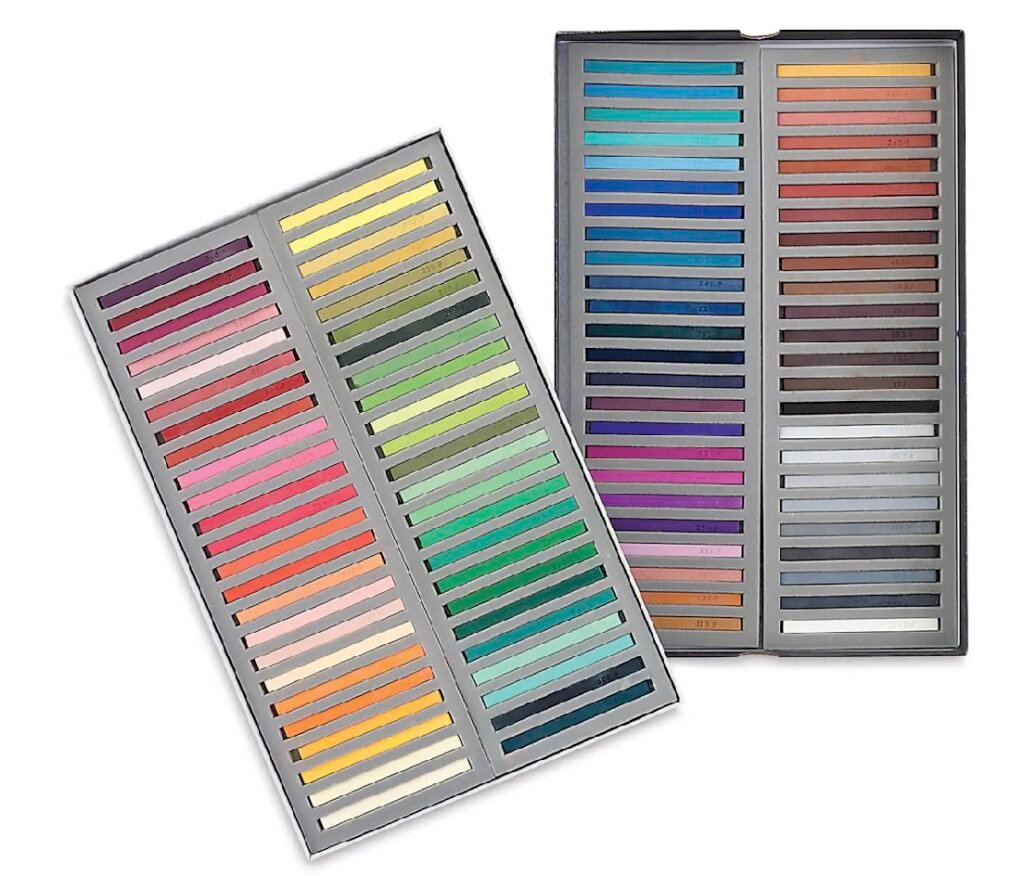
- Rembrandt Medium Soft Pastels—Available in Set of 15 Assorted, Set of 30 Assorted, Set of 45 Assorted. Well-balanced medium-soft pastels—a great addition if you plan to pursue pastel more seriously.
- Surface:
- Any textured pastel or charcoal paper.
- Rembrandt Soft Pastel Paper Pad (used in this demo–light grey)—heavier & toothier (textured) than most charcoal papers.
- Tabletop Easel (used in this demo)—great for small to medium size paper or surface since it comes with a board.
Helpful Tools
- Stiff Brush: To remove pastel dust.
- Kneaded Eraser: For lifting color or creating highlights.
- Blending Tools: Fingers, blending stump, or cotton rag.
- Storage: Pastel boxes or trays to protect sticks.
- Protective Gear: Mask or sheet when using soft pastels.
- Fixative: Lightly spray to protect finished work — avoid overuse to prevent dulling colors.
Getting Started: Fundamental Techniques
First of all, it will be helpful if you review Introduction to Charcoal Drawing. Because the way I handle pastel is quite similar to the methods I introduced in the lesson. I begin with blending techniques to establish values and tones, and finish without blending to keep the surface lively and textured.
For this demo, I used only the Blick 24-color hard pastel set here. I usually combine hard, medium soft, and soft pastels, but this time I wanted to show how it feels to work exclusively with hard pastels.
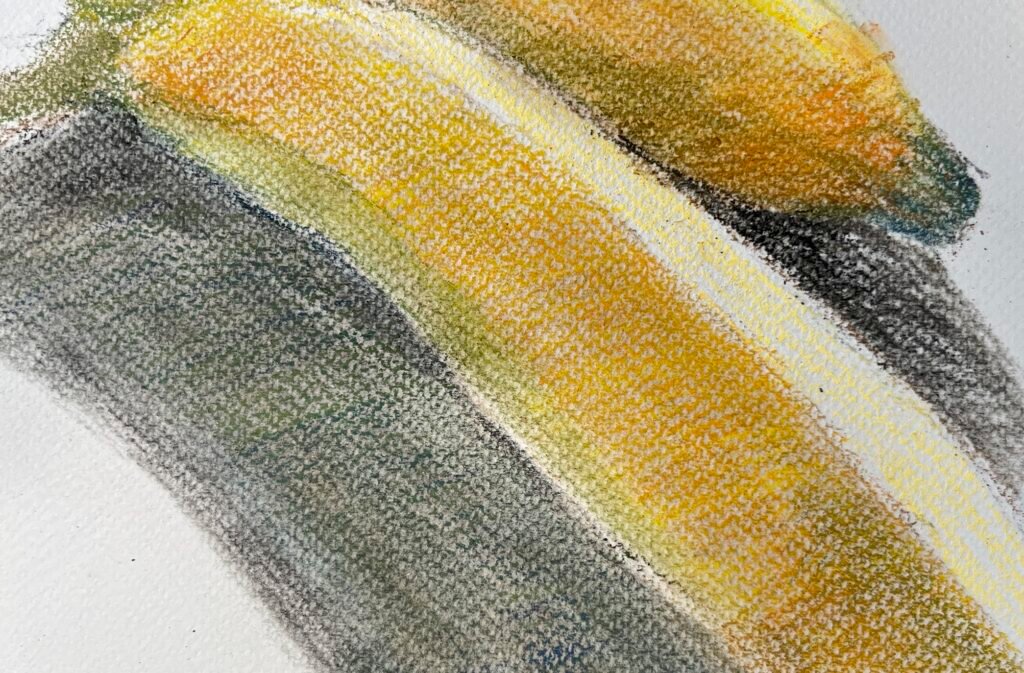
The pastel sticks were a bit too large to use the sides for these small, narrow shapes, I relied on other techniques such as blending, feathering, and hatching for this demo.
Techniques
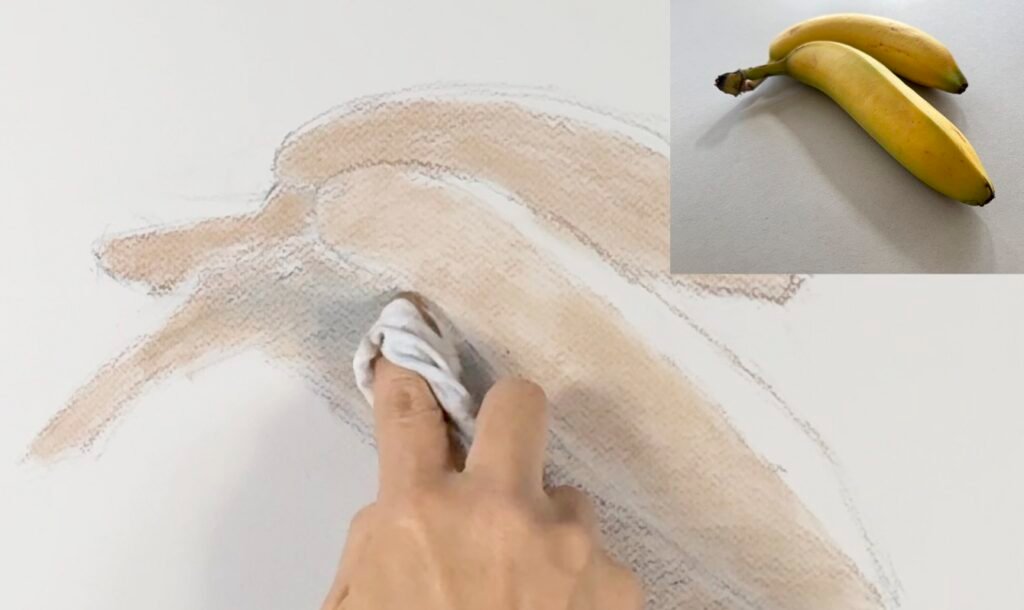
- Layer and Blend: Apply colors lightly, layering gently and blending with your finger or a blending stump. Too much blending can dull the color, so start small.
- Flat Side & Tip: Use the side of a pastel stick to quickly fill large areas and block in color. Use the tip like a pencil for lines and finer details.
- Experiment with Pressure: Light pressure makes softer marks; heavier pressure produces bolder color and texture. Try both!
- Feathering & Cross-Hatching: Short strokes in different directions add texture and depth.
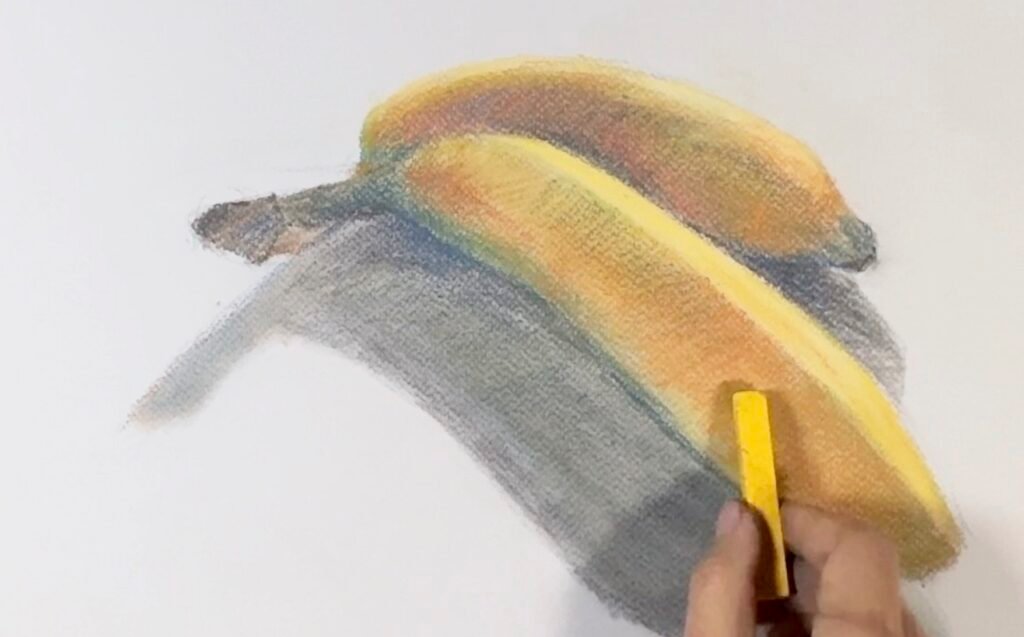
- Layering: Build up color by applying several light layers, instead of one heavy one.
– In this demo, I’m applying multiple layers to mix and build colors that are close to what I see. With a 24-color set, you won’t find perfectly matching shades, so layering becomes essential for achieving the right tones.”
- Scumbling: Lightly drag one color over another for a broken, textured effect instead of blending.
Why Start with Hard Pastels?
For beginners, I recommend starting with hard pastels or medium-soft pastels because these types are easier to control in both color and value. They allow you to build layers gradually without quickly overloading the paper’s tooth.
From my teaching experience, many students find working with pastels as challenging as watercolor—often considered one of the most unforgiving media. What makes pastel difficult is that colors cannot be easily altered once applied. The underlying layer inevitably influences the color placed above it, often resulting in unexpected muddy tones.
Hard pastels don’t fill the paper’s tooth as quickly as soft pastels. They require a bit more pressure to apply color, which helps you control how much pigment stays on the surface. This slower buildup lets you make adjustments along the way—an essential advantage for those still developing sensitivity to value and color relationships.
In my own process, I begin with hard pastels, using the side of the stick to block in large shapes and establish the main color and value structure, switch to medium-soft pastels for refining transitions, and finish with soft pastels to enhance highlights and vibrancy.
Throughout the process, I often move back and forth between different types as needed. Hard pastels are especially effective for achieving clean edges and defining structural forms.
Recap: Key Tips for Beginners
- Start with hard pastels, using the side of the stick to block in large areas of color and establish the foundation.
- Avoid filling the paper’s tooth too early—leave room for additional layers.
- Work loosely in the beginning. Layer gradually, constantly checking how your colors and values interact within the whole composition.
- Introduce medium-soft pastels later to enrich color and soften textures.
- Don’t overwork the surface; once the tooth is completely filled, it becomes difficult to add more pigment.
- Reserve the final, rich layers for the end to create depth, texture, and a sense of completion.
Final Thoughts
While it’s helpful to learn a few formal techniques, don’t feel pressured to master them right away. Just remember a few things to avoid among what I mentioned above, and let the rest unfold naturally as you practice. Pastel is one of the most intuitive mediums—you’ll develop your skills through observation, repetition, and experimentation.
Rather than focusing too much on techniques, follow what feels natural to you, and treat each drawing as a dialogue between you and the medium.
The possibilities with pastel are nearly limitless. As you grow more comfortable, you’ll uncover your own preferences, methods, and stylistic voice.
Future posts will continue to guide you deeper into this endlessly rewarding world of pastel art.