Introduction to Charcoal Drawing: Fundamentals with Vine & Willow Charcoal
Charcoal drawing for beginners starts with understanding the expressive nature of this timeless medium. It offers a rich and versatile field of exploration, encompassing everything from tools and techniques to mark-making and the medium’s historical significance.
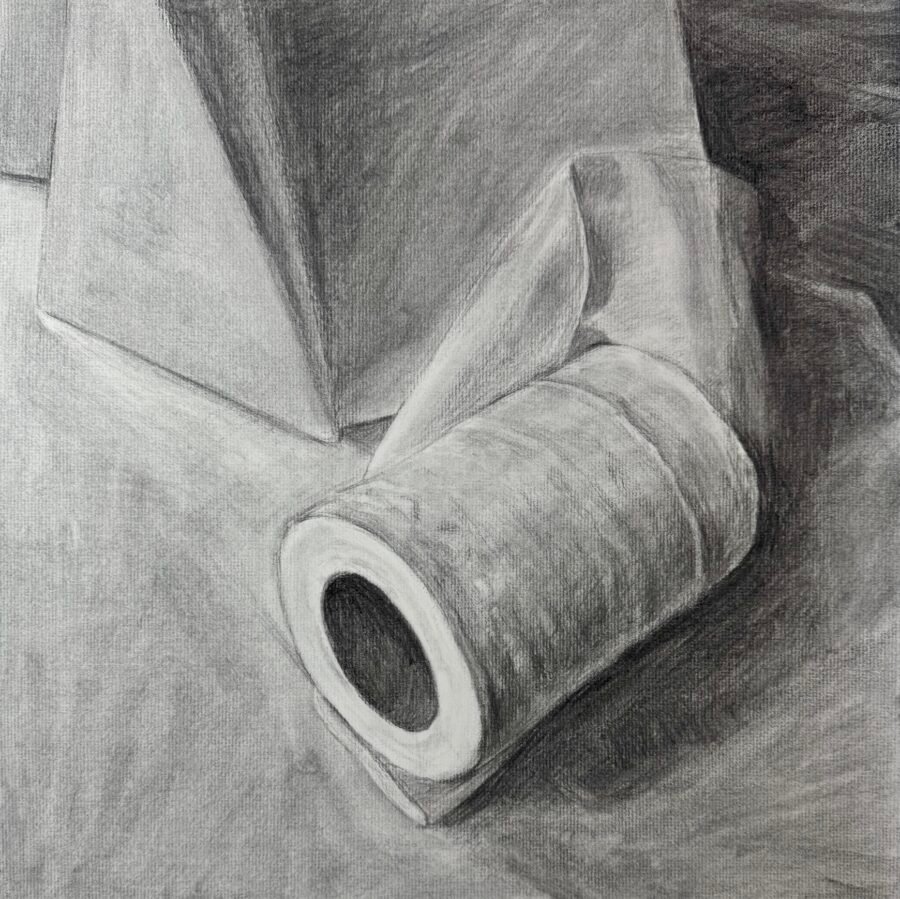
In this introductory lesson, we’ll keep things beautifully simple with a small still-life and only two tools: vine and willow charcoal on white charcoal paper.
Limiting the materials helps you focus on the core fundamentals—line, value, blending, and control—before we layer in compressed charcoal, toned papers, and advanced textures in future lessons.
1. Materials & Tools (for Beginners)
– Charcoal Used in This Lesson

- Vine charcoal — Light, soft, and easily erasable; perfect for block-in, gentle shading, and early value mapping.
- Willow charcoal — Slightly darker and more substantial; excellent for gesture, movement, and building mid-to-dark tones.
Compressed sticks, charcoal pencils, and powdered charcoal will come later.
– Paper & Drawing Surface
White Charcoal Paper – Chosen for this demo to clearly observe value placement. The images below show the same white charcoal paper. The photo on the right is a close-up view, revealing the fine lines and groove textures of the paper’s surface—often called the tooth.
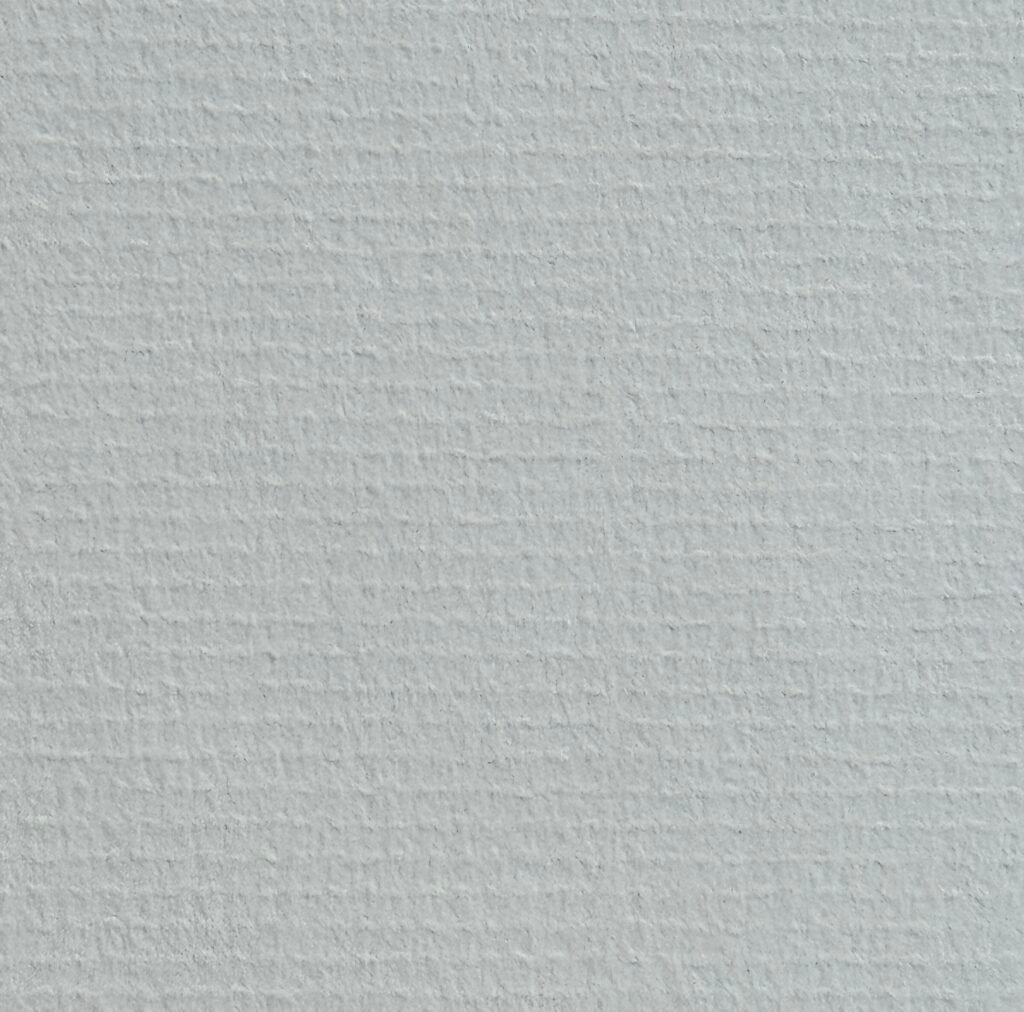
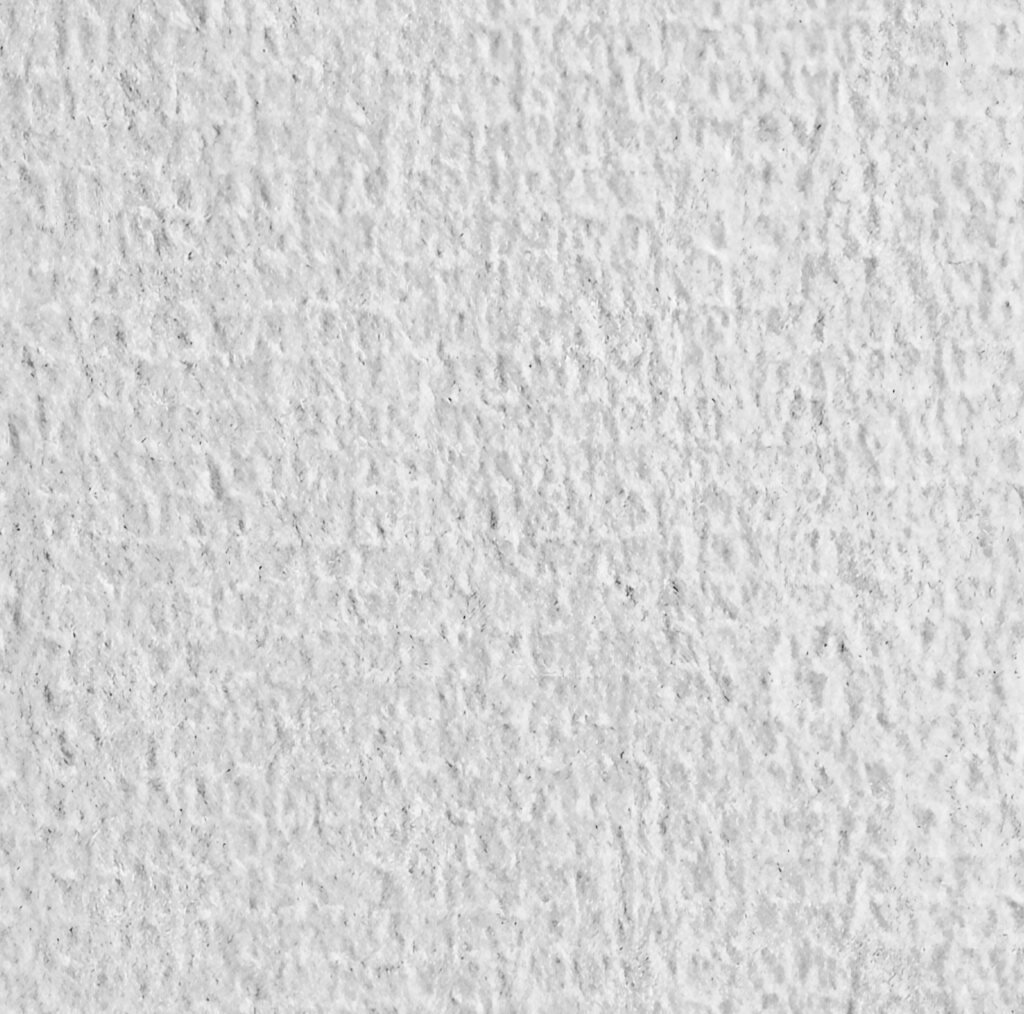
We’ll explore toned/smoother papers later for mid-tone control and atmospheric effects.
– Accessories
- Kneaded Eraser – For lifting highlights and refining light areas.
- Blending Stump (Tortillon) – For controlled smudging and smooth gradients.
- Fixative (Optional) – To preserve the drawing and reduce smudging.
- Optional Tools – Cotton cloth (old shirts), gauze, cheesecloth, or chamois for various textural experiments.
2. What Makes Charcoal Special
Charcoal stands apart from other drawing media due to its expressive nature and tonal range:
- Deep Blacks & Soft Transitions – Achieves rich, velvety blacks (compressed charcoal) and atmospheric grays not easily attained with graphite.
- Expressive Immediacy – Allows swift, intuitive mark-making and large-scale coverage.
- Embraces Impermanence – its fragility often adds a poetic quality to the drawing process allowing continuous editing, erasing, and reworking.
3. Vine & Willow: Strengths and Limits
- Strengths: soft, delicate tones; highly erasable; forgiving for composition mapping and gesture.
- Limits: edges stay softer; absolute blacks and crisp detail are harder to achieve than with compressed charcoal.
4. Core Techniques in This Lesson
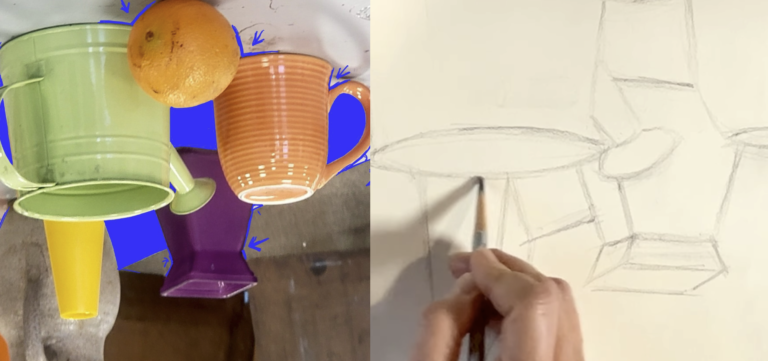
A. Line Work
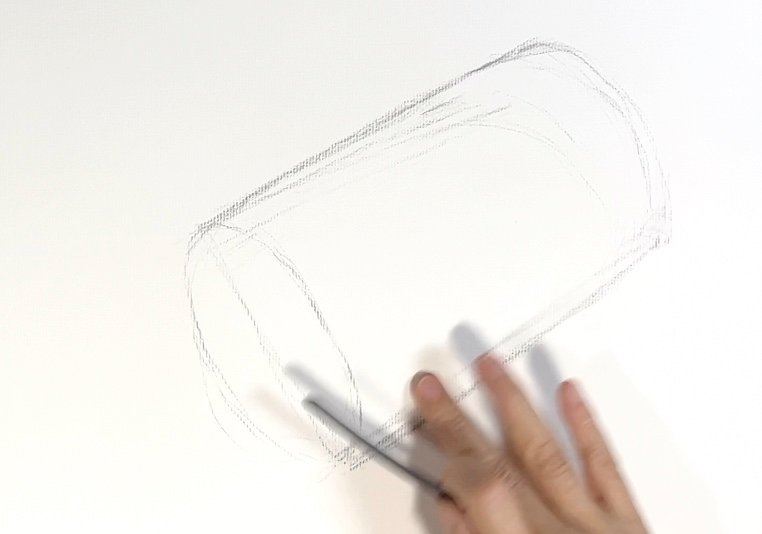
Laying down simple, confident strokes to define form and structure. At this stage, the goal isn’t perfection—it’s about finding proportions and placement.
I keep my hand relaxed and my strokes loose, focusing on big shapes first rather than details.
B. Shading
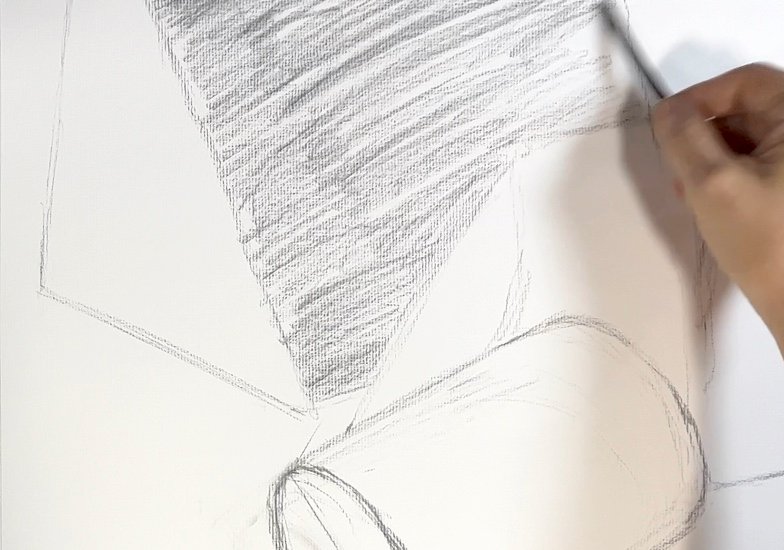
Developing tonal value to describe light and shadow. At this stage, I focus on blocking in the big value shapes—the areas of light, midtone, and shadow—rather than small details.
Gently fill the shapes/ shadows in with the side of the charcoal stick, keeping the pressure light.
C. Smudging & Blending: Texture vs. Smoothness
With the main value shapes now in place, begin blending to unify tones and soften transitions.
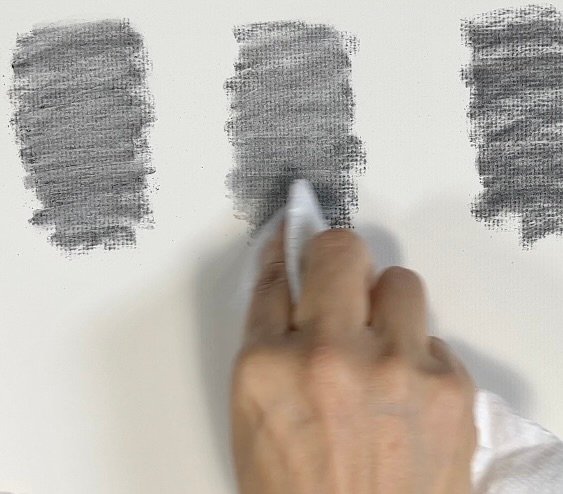
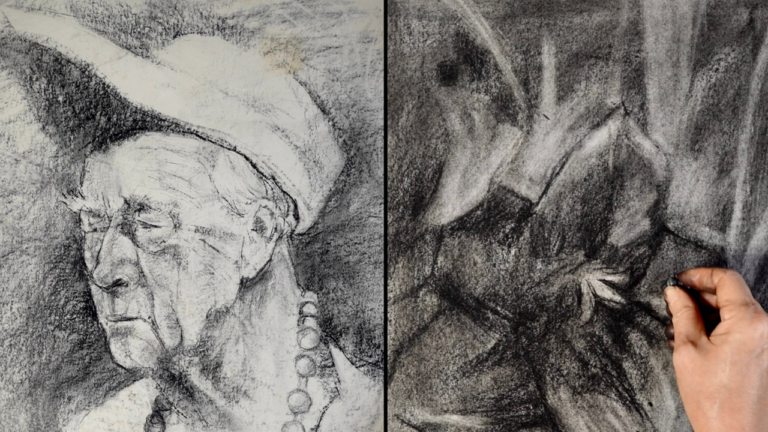
This blending experiment illustrates how different tools affect texture and smoothness in charcoal drawing for beginners. Each sample was created using the same pressure and paper surface to highlight the unique results of each method.
As you can see in the image below, the cotton rag produces the smoothest, most polished surface, while finger blending reveals the paper’s texture most prominently.
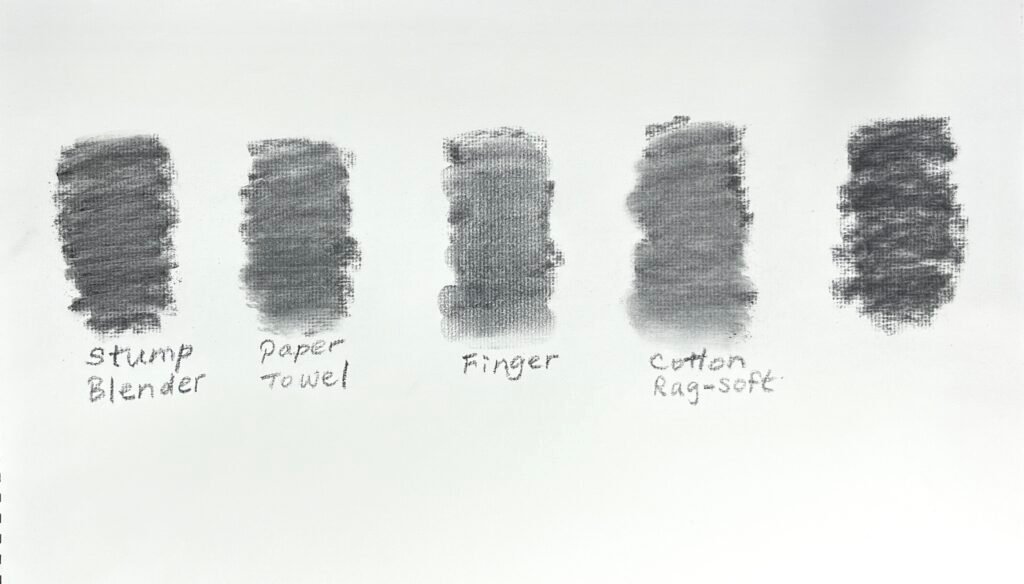
Stump Blender
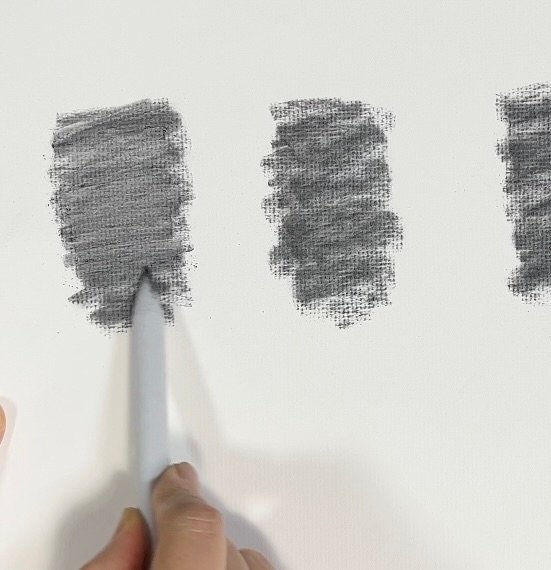
A stump blender produces a controlled and even blend. It’s ideal for gradually building subtle gradients while preserving a degree of detail.
Paper Towel
Blending with a paper towel creates a somewhat softer effect than a stump, spreading charcoal more broadly. It can lighten the charcoal and reveal more of the paper’s grain, making it useful for larger, looser areas of softness or atmospheric effects.
Finger (for Visible Grain)
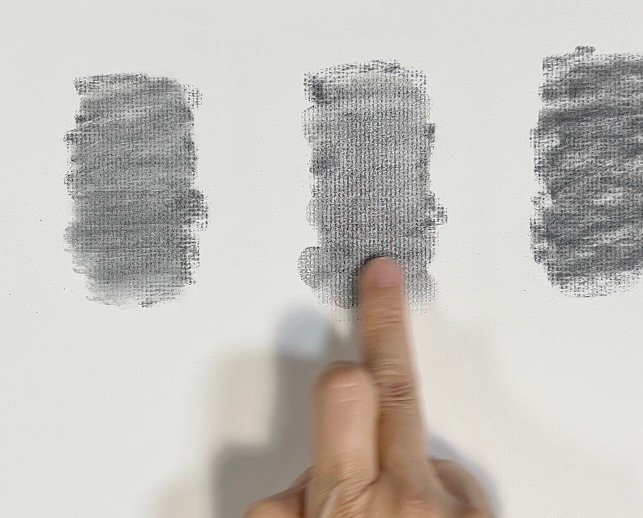
Blending with a finger cannot press charcoal as evenly into the paper’s grooves. It moves the particles irregularly, allowing the paper’s tooth to remain visible. This results in a grainy, tactile texture that feels more raw and expressive—ideal for surfaces like stone, rough fabric, or areas where energy and movement are desired.
Cotton Rag (for Smooth Blending)
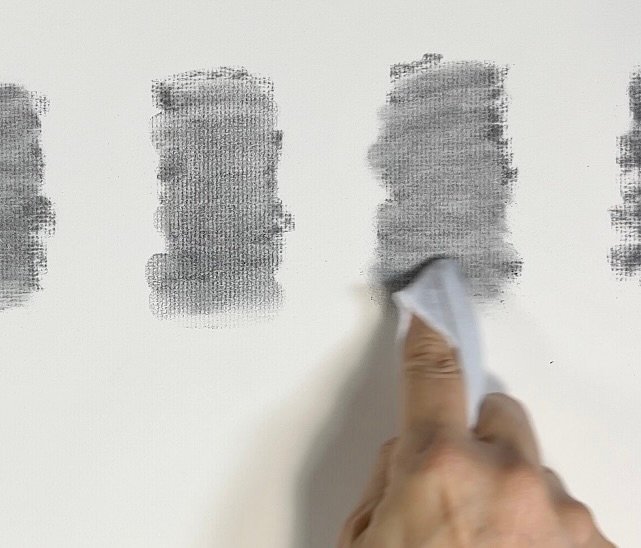
Densely packed fibers move particles deep into the tooth, minimizing visible paper texture and creating soft, even gradients. Great for preliminary tonation, soft shadows, skin, or atmospheric grounds.
Tip 1: A Practical Approach
In my process, I often begin with a cotton rag to quickly establish large tonal areas and overall value structure.
I don’t recommend finger blending at the beginning stage. The natural oils from your skin can transfer to the paper, leaving uneven, spotted areas. Once these oily marks appear, they are difficult to erase or correct.
Next, I switch to a stump blender for smaller or detailed areas that require control. You can still use a rag going back and forth with other tools.
Finally, I refine edges or subtle tonal shifts with a finger or sometimes without any tool, allowing the natural texture of the charcoal to remain intact and preventing muddy looking or over-smearing.
Use the kneaded eraser to lift light, sharpen edges, and pull highlights.
Tip 2: Controlling Value with Rag
When using a cotton rag, remember that a clean area will lift or lighten the charcoal layer by picking up loose powder from the surface. This makes it perfect for softening edges, lightening transitions, or subtly adjusting highlights.
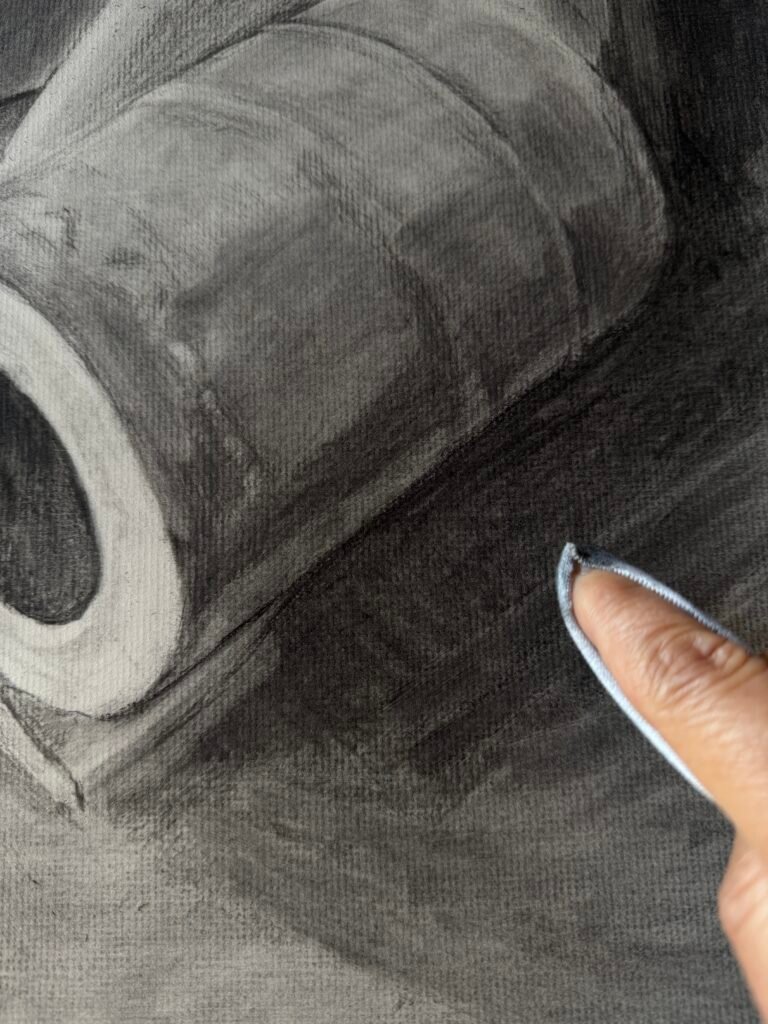
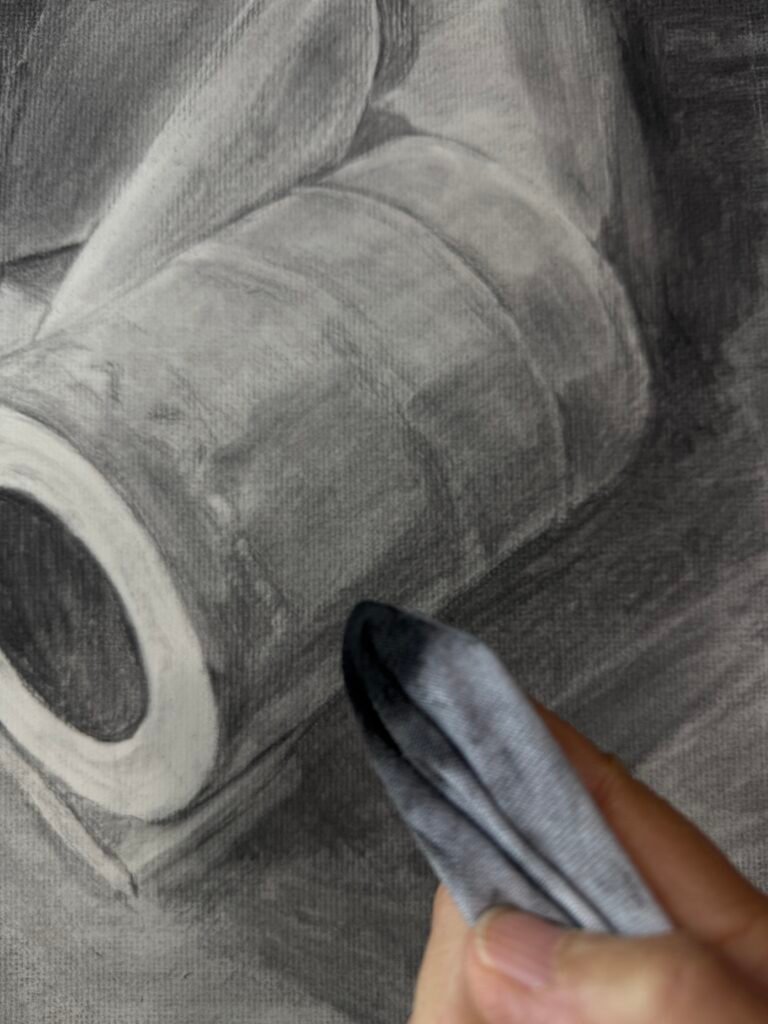
Conversely, if you want to build darker values, use the dirtier or well-used areas of the rag that already contain charcoal dust. These portions deposit pigment back onto the paper, allowing for deeper tones and smoother tonal buildup without adding new charcoal directly.
In my demo image, you can observe how alternating between clean and charcoal-rich areas of the same rag creates a nuanced range of values—from soft grays to rich darks—while maintaining an even, velvety texture.
D. Layering
Build multiple light passes to create richer contrast and dimension. Re-state darks only after the big relationships feel right.
E. Subtractive Drawing (Erasing)
Use the eraser as a charcoal lifting tool to create highlights and refine forms.
All techniques are demonstrated step-by-step in the accompanying video tutorial, ensuring you can follow along at your own pace.


[…] you are new to charcoal in general, I recommend first reviewing my earlier post, Introduction to Charcoal Drawing, where I discuss vine and willow charcoal. Understanding how traditional charcoal behaves will make […]