
Cross-Hatching with Pencil: Embracing the Medium’s Unique Qualities
Cross-hatching involves layering lines at varying angles to develop value to represent light, shadow, and form. When the lines are placed close together, they produce darker tones; when spaced apart, they create lighter areas.
In this lesson, we’ll explore the art of cross-hatching with pencil, focusing on how to fully utilize its distinctive properties—without relying on blending stumps.
If you haven’t yet, please review the earlier post on the fundamentals of cross-hatching for a strong foundation:
Value: Lesson 3 – Cross-Hatching Techniques for Shading – Practice for Drawing
Why Avoid Blending Stumps with Pencils?
In my classes, many students reach for a stump when they shade with a pencil. When I recommend avoiding blending tools during cross-hatching exercises, I often meet resistance. But here’s why I believe it’s a meaningful and necessary restriction:
When you blend a pencil drawing to the point where the stokes are no longer visible, you diminish what makes pencil distinct from other mediums such as charcoal or graphite powder.
The Beauty and Strength of Pencil Cross-Hatching

- Precision and Control: Pencil allows for fine control over line weight and placement, making it ideal for detailed textures and gradual value transitions.
- Expressive Mark-Making: Those hatched lines contribute to the overall texture and energy of the drawing, allowing for a more personal and expressive result.
- Nuanced Shading: By varying the spacing and angles of your lines, you can achieve a wide range of values without ever needing to blend.
While blending may seem quicker or more intuitive, cross-hatching with pencil encourages you to slow down, observe, and build values thoughtfully. This process not only sharpens your technical skills but also helps you develop a keener eye for form, light, and texture.
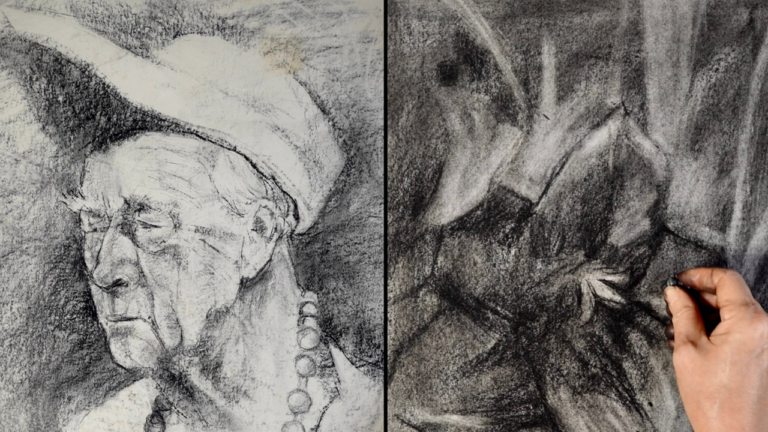
Pencil vs Charcoal: Choosing the Right Tool
- Charcoal: Best for dramatic contrasts and broad effects. Its softness makes it easy to blend, but harder to control for fine detail.
- Pencil: Ideal for precision, detail, and controlled textural effects. Cross-hatching with pencil lets you layer values gradually, creating depth without sacrificing clarity.
Ultimately, the choice between pencil and charcoal depends on your artistic goals. For intricate, controlled work, pencil cross-hatching shines. For bold, expressive marks and deep shadows, charcoal is often preferred.
Step-by-Step: Pencil Cross-Hatching Essentials
While I typically include step-by-step photos to support my drawing tutorials, this particular lesson — focused on cross-hatching a round object — is best experienced in motion.
Cross-hatching involves layering lines at different angles, adjusting pressure, and shifting stroke direction — all of which require observing hand movement, speed, and transitions in real time. These subtle but essential actions can’t be fully captured in still images.
For that reason, I encourage you to watch the video demonstration linked below. It offers a clearer view of how I build up values, make directional choices, and create a sense of volume using only lines — without any blending.
🎥 Watch the full demonstration here:
If you haven’t already, I highly recommend watching the previous lesson on Cross-Hatching Technique Exercises before diving into this demonstration.
Achieving even, controlled strokes through cross-hatching is not something that comes easily or quickly. It takes time and consistent practice.
So please don’t feel discouraged if your lines aren’t as evenly spaced, or confident as the ones you see here. That’s completely natural in the early stages. Be patient with yourself, and allow the process to be part of your progress – the quality will grow as your hand adapts over time.