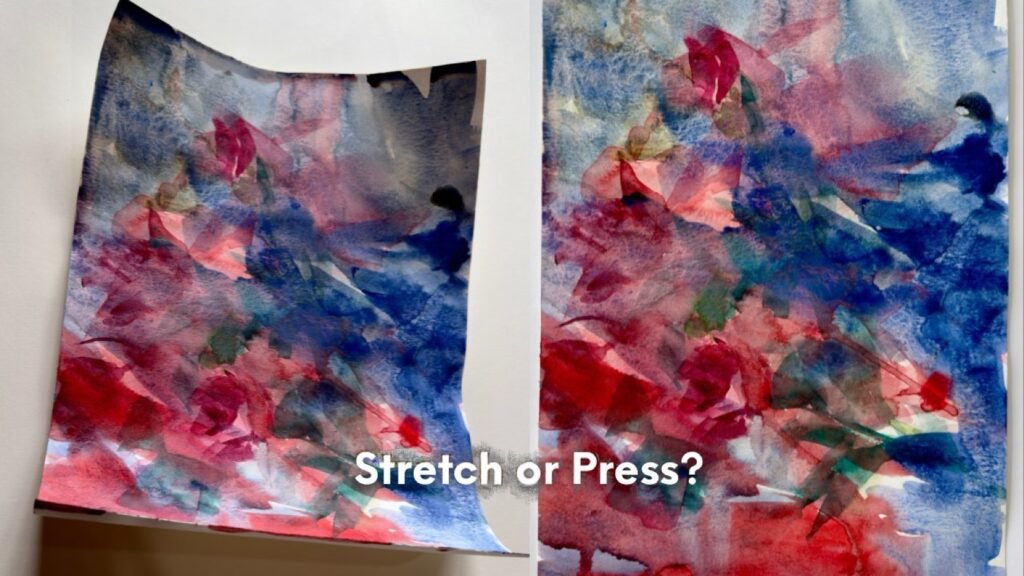
Do You Always Need to Stretch Watercolor Paper?
Let’s be honest — do you stretch your watercolor paper every time you paint? And if you do, do you actually enjoy the process? Or have you ever quietly wondered whether you really needed to stretch at all?
I have.
Perhaps it was impatience, but I never loved stretching paper—even though I demonstrated the method countless times in class. When you are ready to paint, the last thing you want is to spend time soaking, taping, and waiting. Sometimes, by the time the paper is finally dry and ready, the initial inspiration has faded.
Another reason I resisted stretching was the loss of deckle edges. I appreciate their raw, irregular beauty; they lend a sense of authenticity to the work. Traditional stretching usually requires taping over or trimming those edges. For artists who value that natural finish, this can feel like a compromise. (If you are not using deckle-edged sheets, this concern may not apply.)
More than once, I found myself trying to flatten finished work at the last minute, especially before exhibitions. At the time, I had no reliable resource to confirm whether what I was doing was technically sound. I experimented, observed, and trusted my judgment.
The good news: those methods worked. Later testing confirmed that there are practical ways to manage buckling without always stretching in advance.
In this post, I will explore:
- Why watercolor paper buckles
- How stretching works (and what it does to sizing)
- How to stretch properly
- Alternatives to stretching
- And what you can do if you skipped stretching and your paper has already warped
By the end, you can decide whether stretching is truly necessary—or simply one option among several.
Why Watercolor Paper Warps — and How Stretching Prevents It
Watercolor paper buckles because its fibers absorb water and expand. Most high-quality watercolor paper is made of cotton, while lower-cost papers are often made primarily of wood pulp (cellulose). Both materials expand when wet.
As the sheet dries, the fibers contract. If expansion and contraction occur unevenly—often because some areas receive more water than others—internal tension develops across the surface. That tension causes the paper to warp or buckle. This distortion is especially noticeable in lighter weights such as 90 lb or even 140 lb paper.
Stretching works by pre-expanding the fibers evenly. When the damp sheet is secured to a rigid board and allowed to dry under restraint, it shrinks uniformly and becomes taut. That controlled tension helps resist further distortion during painting.
I will cover watercolor paper types more fully in a separate post.
Before moving to alternatives, it is worth understanding one common concern about soaking: sizing loss.
Sizing Loss: A Real Concern?
A common concern is whether soaking watercolor paper removes sizing.
The answer is: to a degree, yes. Prolonged soaking can partially reduce surface sizing (particularly gelatin sizing), though internal sizing generally remains intact. Excessive soaking may increase absorbency, reduce lifting capability, and create a slightly softer surface texture.
However, moderate soaking (approximately 3 minutes for 90 lb and about 5–8 minutes for 140 lb paper) is generally enough to relax the fibers while minimizing significant sizing loss.
Interestingly, I do not always consider increased absorbency entirely negative. In certain situations, a slightly more absorbent surface can be desirable—for example, when you want softer edges, deeper staining, or reduced lifting. I will demonstrate in a future lesson how and why I sometimes soak paper intentionally longer for specific effects.
How to Stretch Watercolor Paper (Classic Soak-and -Tape Method)
Materials
- Watercolor paper (90–140 lb / 190–300 gsm)
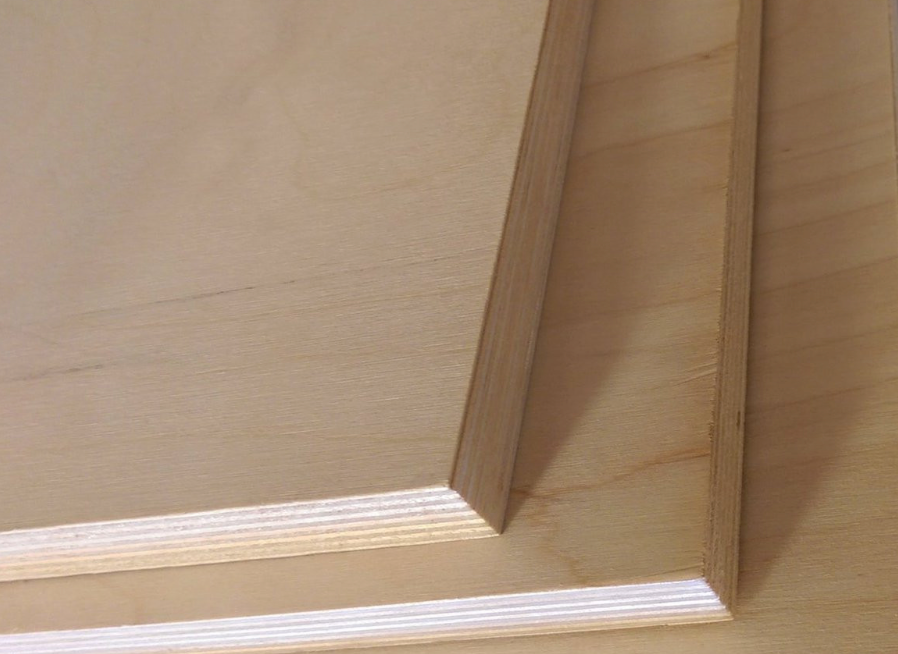
- A rigid board slightly larger than the sheet
(Marine plywood (with cross‑grain construction to help prevent warping), Baltic birch plywood, or similar at least ½″ thick; Gatorboard, sealed wood panel, or plexiglass also work. - 2″ gummed paper tape (water-activated kraft tape)
- Tray, sink, or bathtub with clean cool water
- Sponge
- Flat hake brush (approximately 3″)
- Utility knife (snap-off blade)
- Pencil, ruler, and scissors
Suggested Tools & Options
Below are some of the tools I mentioned in this demonstration, along with comparable alternatives.
• Soaking Tray
Winco Bus Box Dish Tub
Paterson Tray – The one in my demo
• Gummed Tape
TooCust Water Activated Tape
• Utility Knife
4 Pack Box Cutter
• Sponge
Temede Large Cellulose Sponges
• Hake Brush
Patelai 3 Pieces Flat Hake
Affiliate Disclosure
Some of the links above are affiliate links. This means I may earn a small commission at no extra cost to you. I only recommend materials I’ve researched carefully or use myself.
Step-by-Step
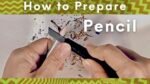
1. Prepare the Tape
Do this before you touch water.
Cut four strips: two for the short sides and two for the long sides, each about 2″ longer than the paper edge.
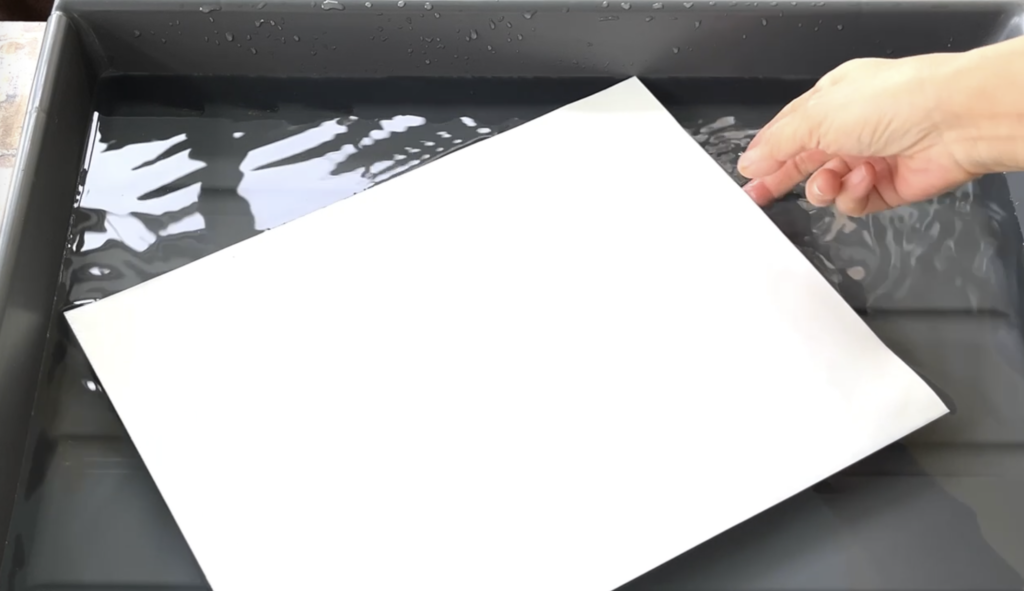
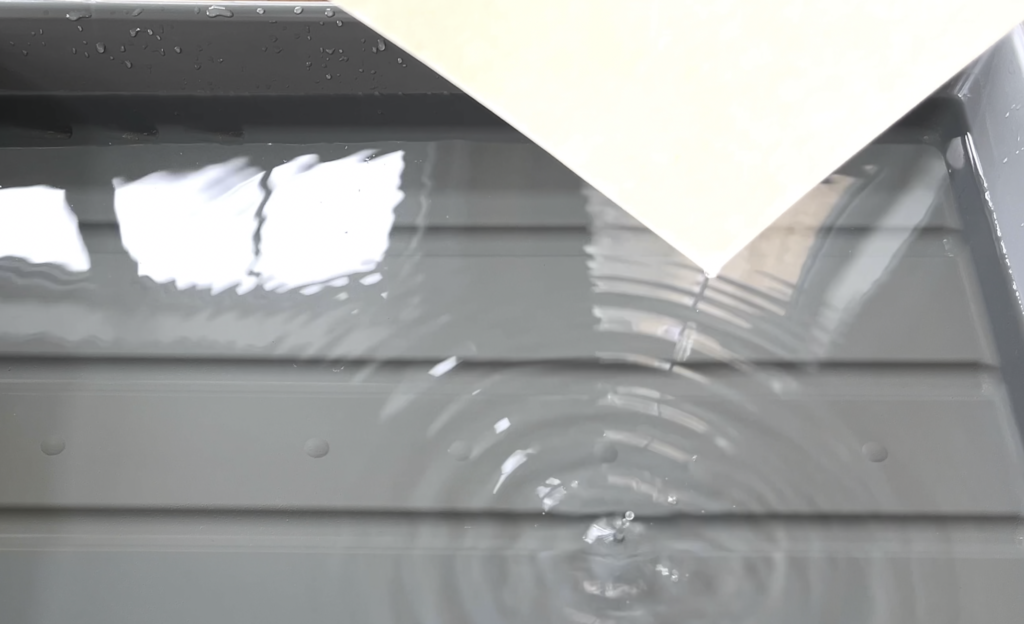
2. Soak the Paper
Submerge the sheet fully in cool water.
- 90 lb (190 gsm): about 3 minutes
- 140 lb (300 gsm): about 5–8 minutes
Ensure the sheet becomes evenly saturated and pliable, similar to soft fabric.
If your basin is smaller than the sheet, insert one edge into the water first (using the shorter side of the paper in the longer dimension of the basin if possible), then gently slide the sheet back and forth so all areas are submerged.
For larger sheets, a clean bathtub works.
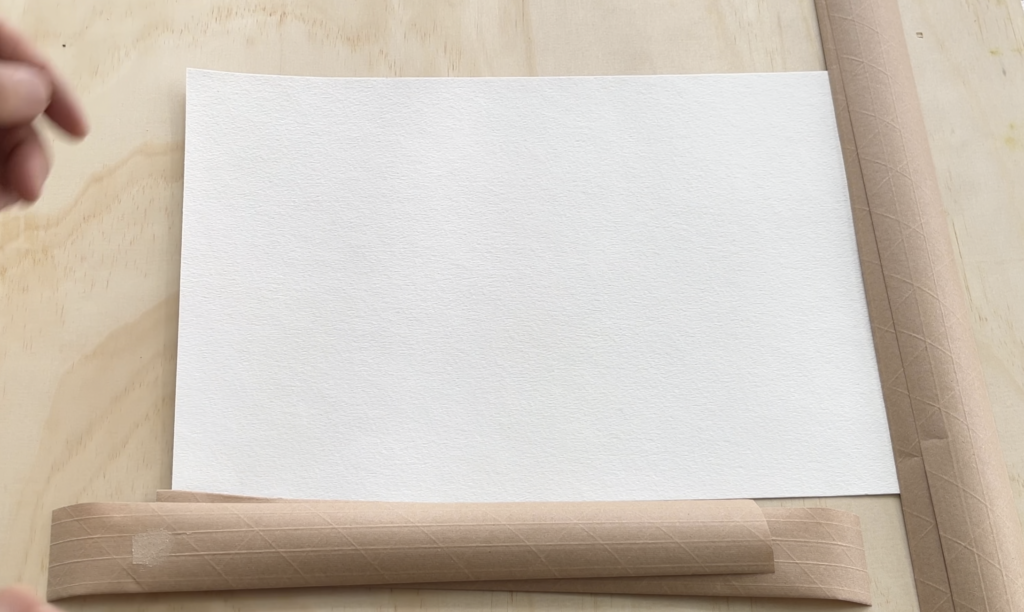
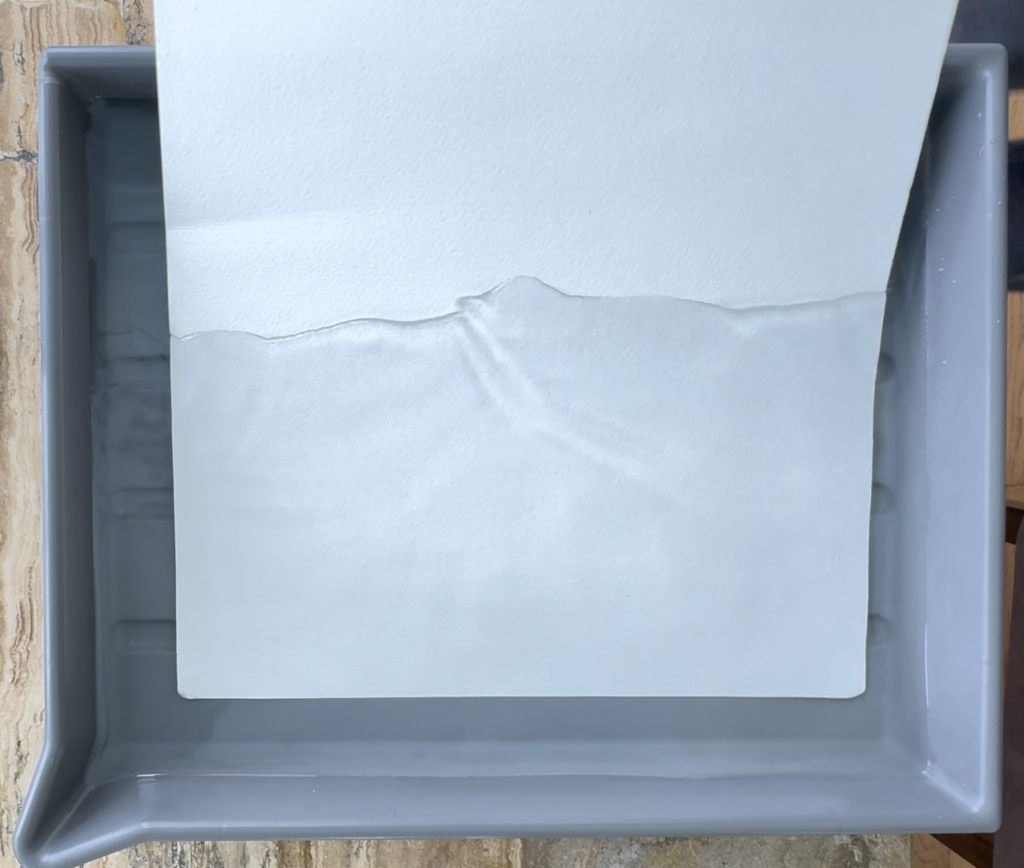
3. Drain and Mount
- First, lightly dampen the board with a sponge so the paper will grip and not slide too easily.
- Lift the paper carefully and allow excess water to drip off.
- Lay the sheet flat on the board and gently smooth from the center outward with your hand or sponge, pushing out bubbles and puddles.
- The paper should be evenly damp—not shiny‑wet.
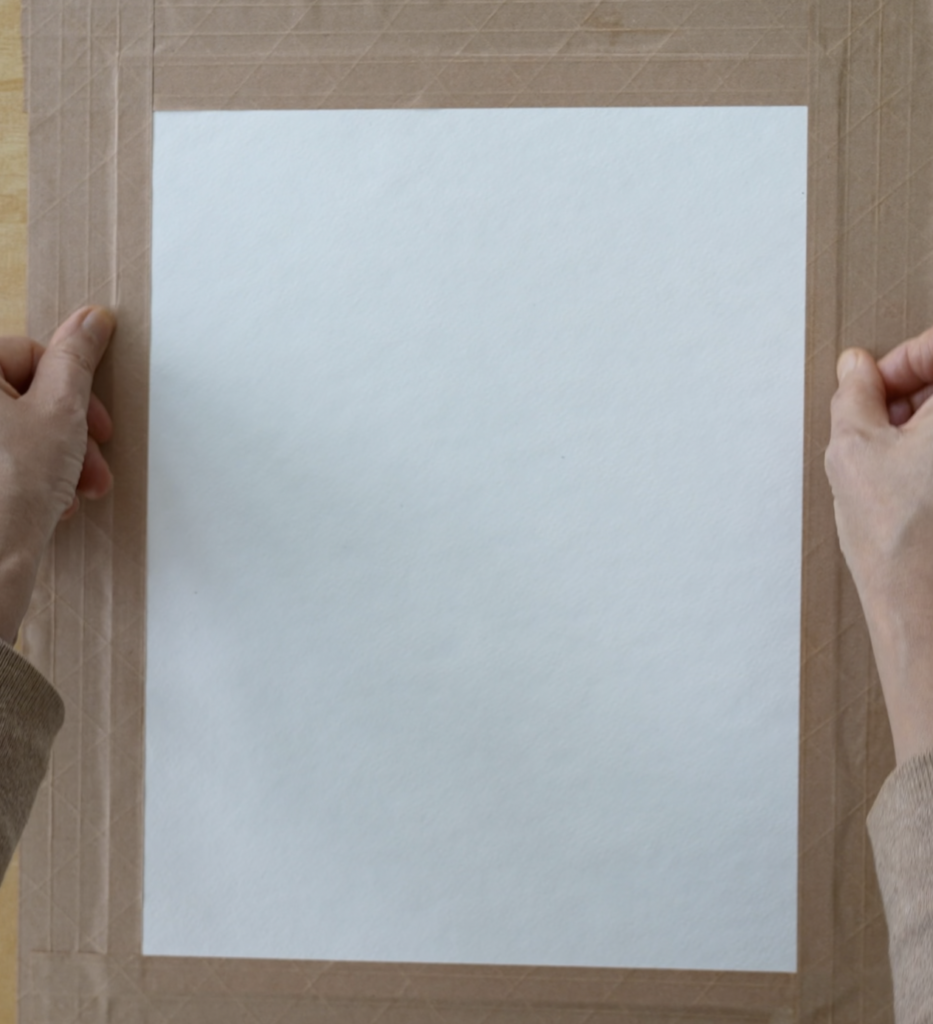
4. Apply Gummed Tape
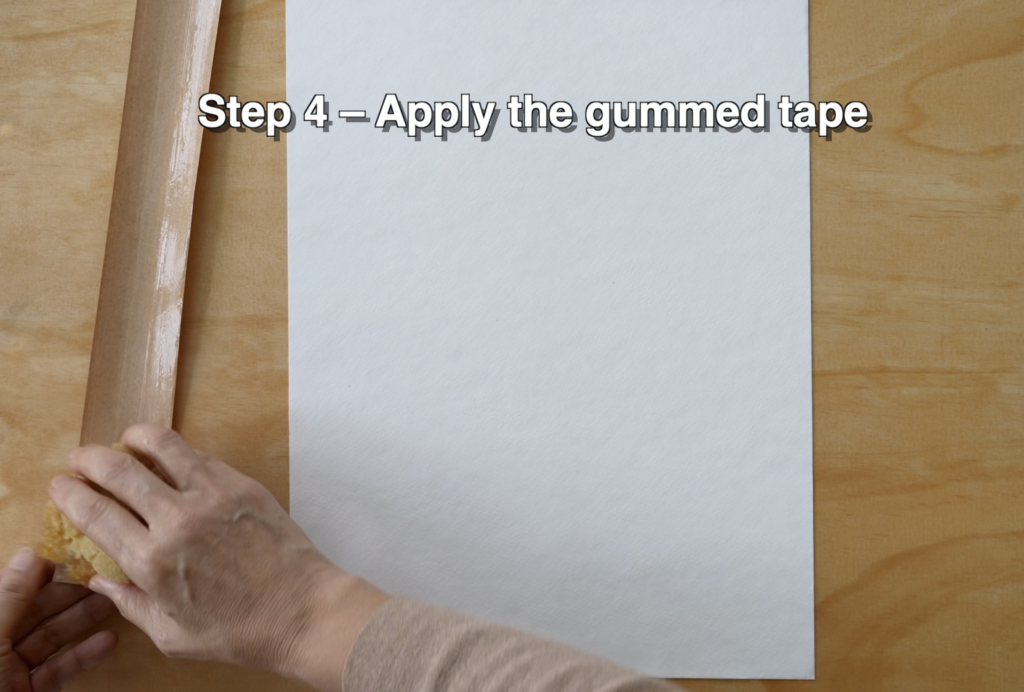
Lightly moisten the adhesive side of the tape (avoid oversaturating).
Place each strip so it overlaps about ½″ onto the paper and adheres firmly to the board. Press down carefully, especially at the corners.
5. Allow to Dry Completely
Let the board lie flat and undisturbed—usually overnight.
As the paper dries, it shrinks and pulls against the tape, becoming taut.
6. Paint and Remove
Paint while the sheet remains taped to the board.
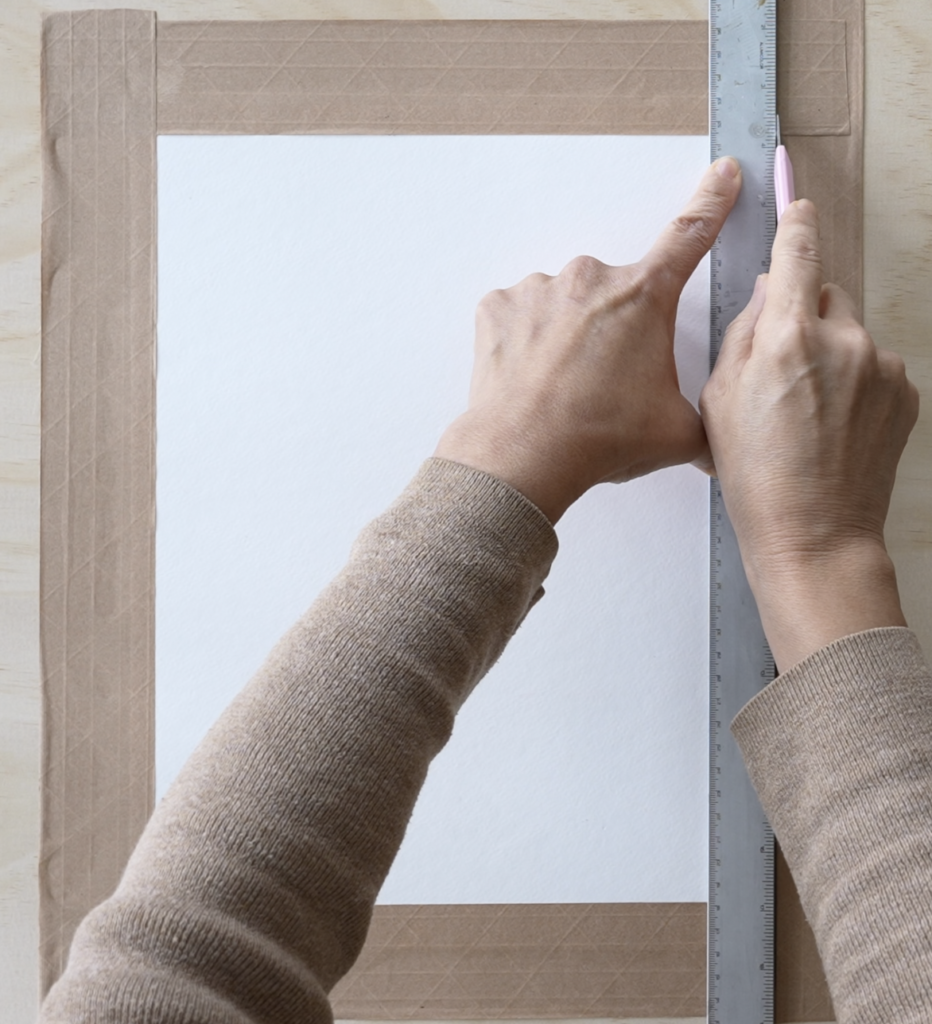
Once the painting is fully dry, use a ruler and craft knife to trim along the edge of the paper, leaving the tape attached to the board.
Quick “No-Soak” Variation
If soaking is impractical:
- Place dry paper on the board.
- Thoroughly wet both sides with a large brush or spray bottle.
- Make sure the surface is evenly damp.
- Tape as above and allow to dry flat.
This method is less controlled than a full soak but often effective for moderate washes.
Alternatives to Stretching
Stretching is not the only approach. Modern materials and methods can reduce or eliminate the need for it.
1. Use Heavier Paper
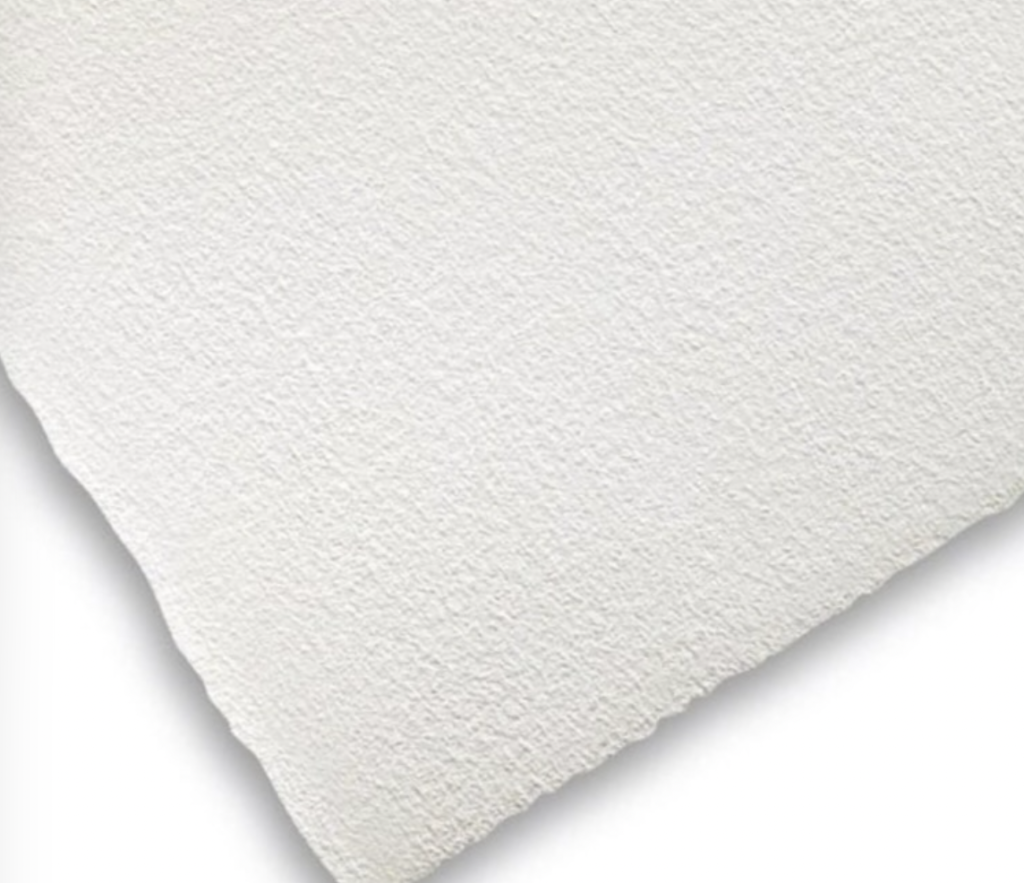
300 lb (640 gsm) paper is often rigid enough that stretching becomes unnecessary.
Heavier paper:
- Provides greater structural stability
- Tolerates heavy washes
- Resists severe buckling
Professional examples include:
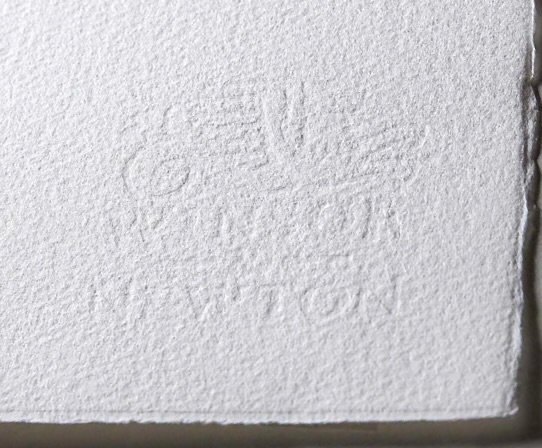
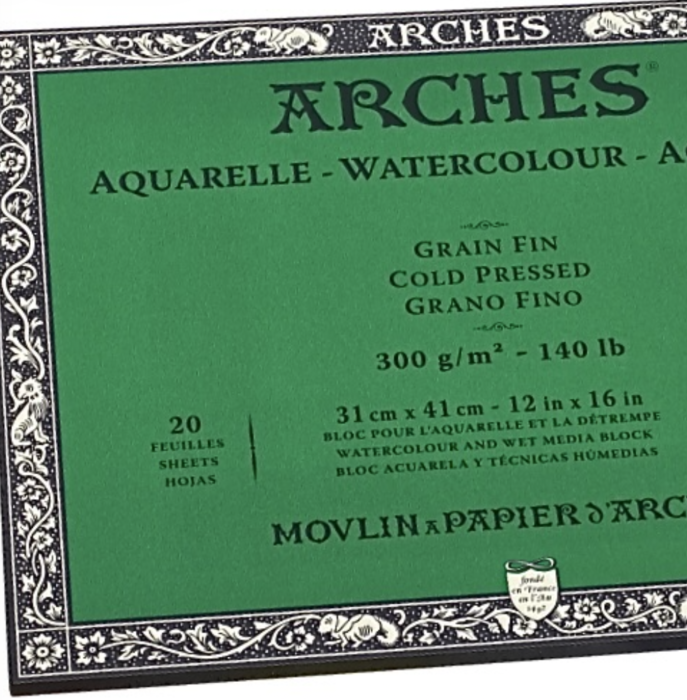
- Arches 300 lb
- Fabriano Artistico 300 lb
- Saunders Waterford 300 lb
It costs more per sheet, but it saves preparation time. Whether that trade-off is worthwhile depends on your workflow and budget priorities.
2. Use Synthetic or Rigid Surfaces
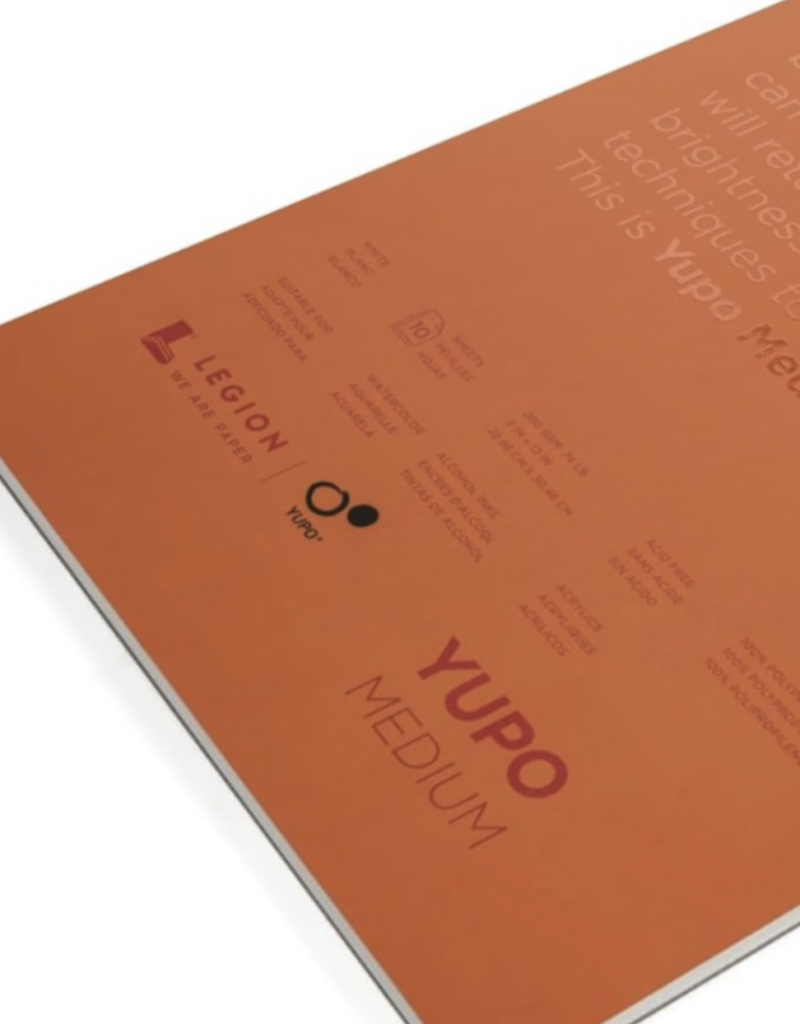


- Synthetic paper such as Yupo, which does not expand and contract like cotton or wood pulp
- Watercolor boards or panels
- Watercolor canvas
These supports behave differently from traditional paper but offer excellent stability.
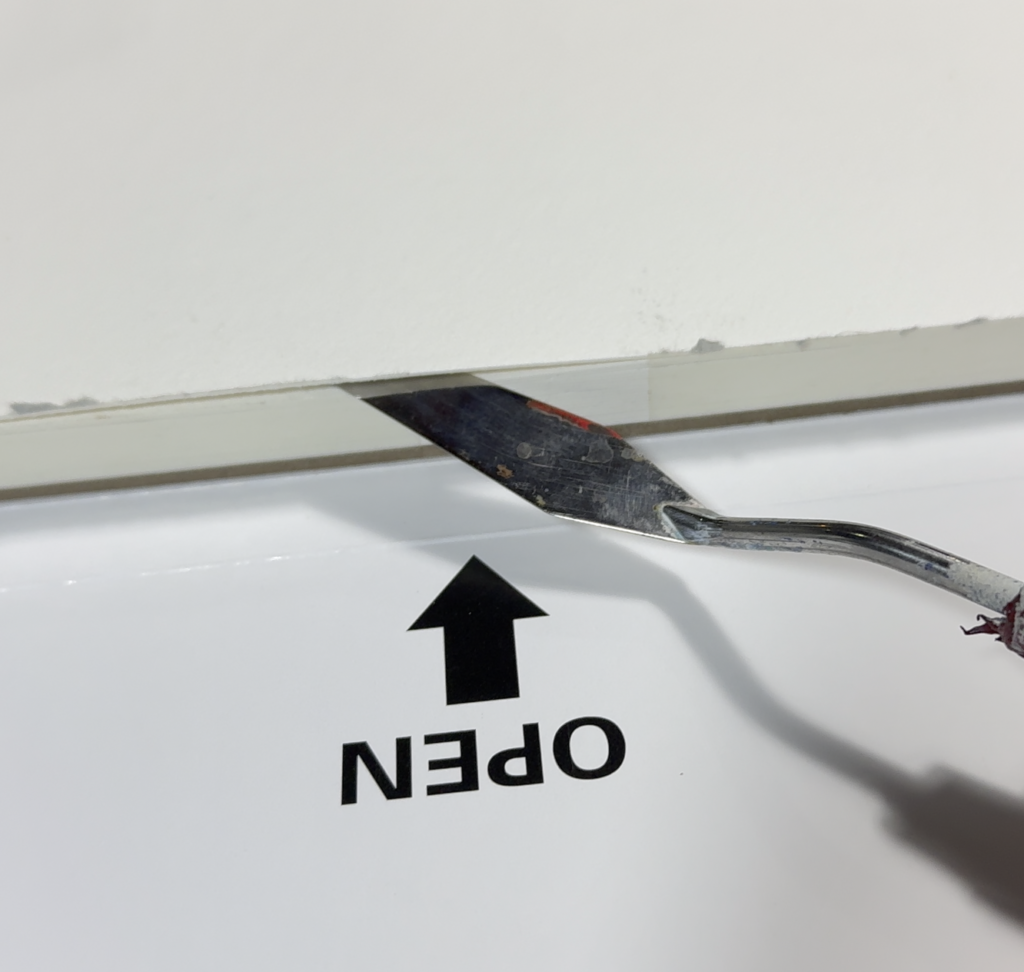
3. Use Watercolor Blocks
Watercolor blocks are glued on all four sides.
They:
- Significantly reduce buckling.
- Require no stretching or taping
- Are excellent for travel and demonstrations
They do not eliminate distortion under extremely wet applications, but for many artists they are sufficient.
4. Ironing (Not Recommended)
Some artists attempt to iron the back of watercolor paper using low heat and no steam.
I do not recommend this method.
Heat can affect sizing, alter surface behavior, and potentially disturb pigments. Achieving even pressure is also difficult, which may result in inconsistent flattening.
5. Dry Mounting (With Caution)
Professional framers may use a dry mount press to apply heat and pressure, bonding the artwork permanently to a backing board.
While effective, this is irreversible. Choose this option only if you are comfortable with the artwork being permanently mounted.
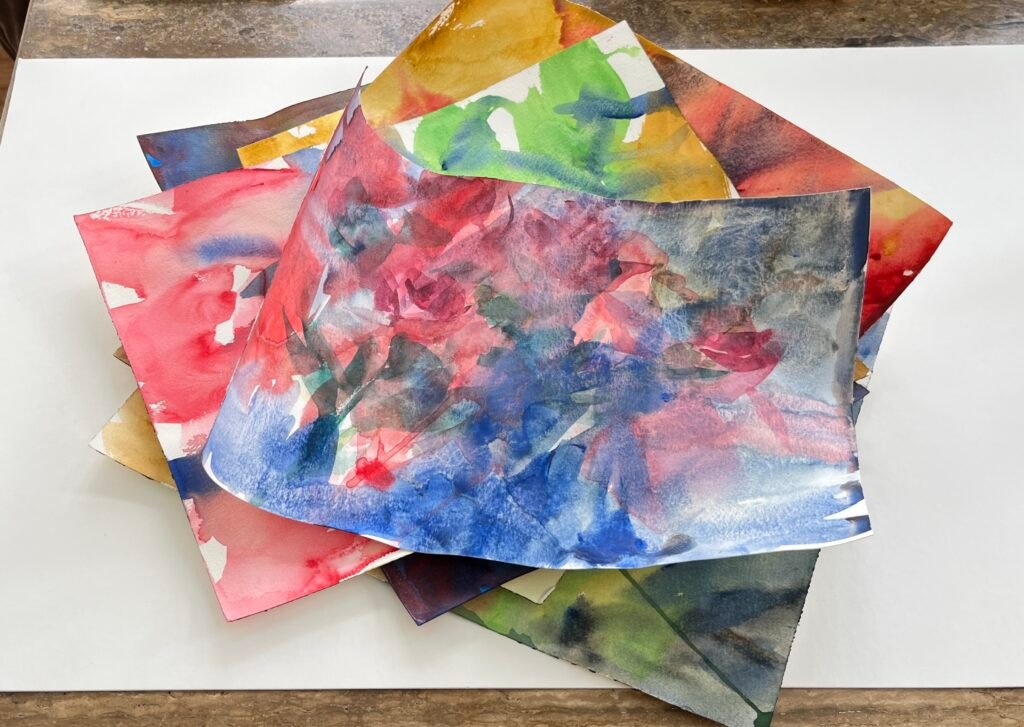
6. Embracing Slight Movement (Float Framing)
Another approach is to accept the natural undulation of the paper as an inherent quality of watercolor. I find this particularly beautiful in work on handmade papers, where the gentle irregularity complements the expressive nature.
- Mount the work so it “floats” above the backing using spacers
- Allow edges and subtle waves to remain visible
- Treat the paper’s movement as part of its character
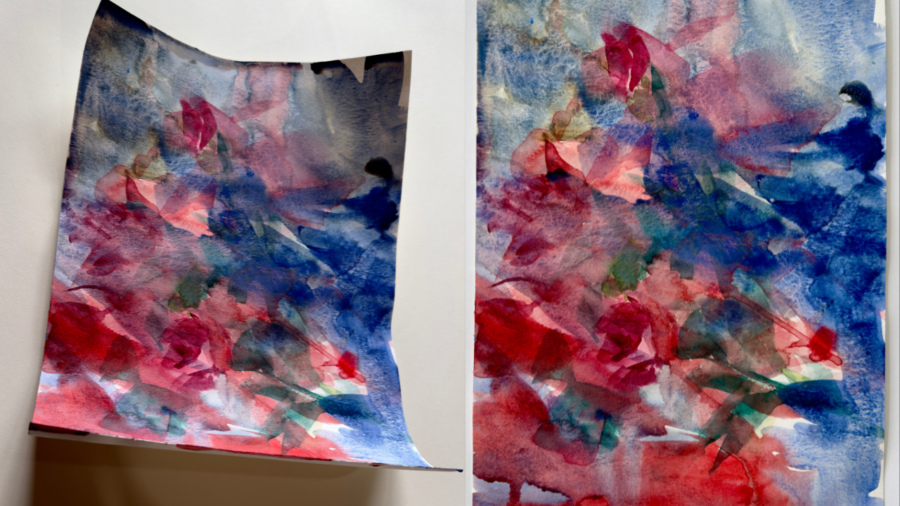
Can You Fix Buckling After Painting?
Yes—with realistic expectations.
You can usually improve buckling significantly, even if you cannot return the paper to “brand‑new sheet” flatness.
Press Flattening (Safer Method)
This method gently relaxes the fibers so they dry under controlled pressure.
After the painting is completely dry:
- Place the painting face down on a clean, smooth surface.
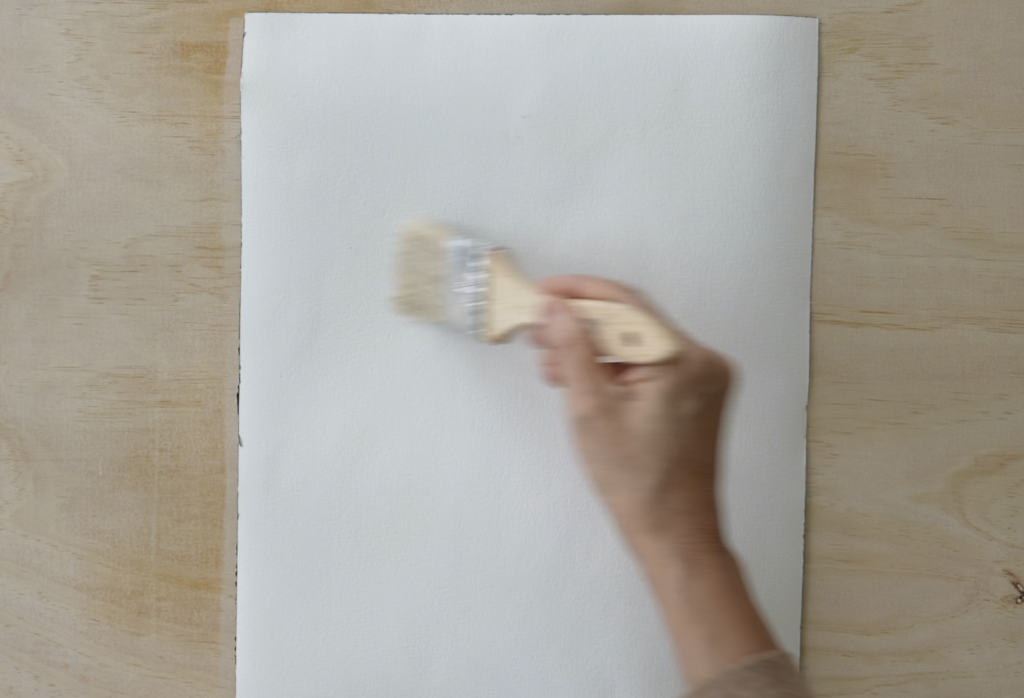
- Lightly mist only the back of the sheet (never the painted surface).
- Use a wide brush to distribute moisture evenly.
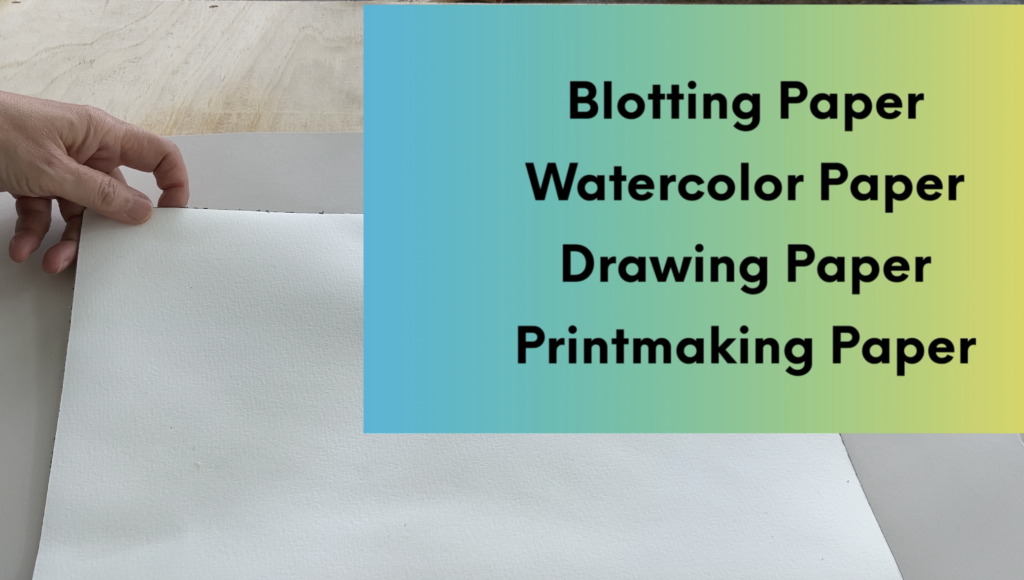
- Sandwich the artwork between clean, absorbent sheets such as blotting paper, watercolor paper, acid-free cotton paper, or printmaking paper.
- Cover with a flat board and apply heavy, evenly distributed weight.
- Leave for 24–48 hours.
What NOT to Use
- Newspaper (ink transfer risk)
- Colored paper
- Rough or textured fabric
- Plastic sheets (traps moisture unevenly)
- Foam board directly (non-absorbent)
I tested this method using inexpensive 100% cotton drawing paper, watercolor paper, and printmaking paper as interleaving sheets. I found only minor differences in performance—not significant enough to strongly recommend one over another.
Initially, I believed a thicker, more absorbent paper would work better. My reasoning was that greater absorbency might help distribute moisture more evenly, and the added thickness would provide a softer cushion under pressure. I therefore chose printmaking paper, as it typically contains less sizing than watercolor paper and seemed more suitable for this purpose other than blotting paper.
However, after further research and experimentation, I learned that flattening does not necessarily depend on high absorbency or buffering. Even pressure during the drying process plays a far more critical role than absorption alone.
The encouraging news is that the improvement was substantial, and an inexpensive drawing paper performs just as effectively. Again, do not expect perfect factory-flat results, but you can achieve a visibly flatter surface—usually sufficient for framing or scanning.
A Final Consideration
So—do you really need to stretch watercolor paper?
It depends.
The real question is not simply, “Should I stretch?”
The better question is:
When stability supports your intention, stretching makes sense.
When it interrupts your rhythm unnecessarily, thoughtful alternatives exist.
Please click the image for my YouTube video.