Two Drawing Principles to Drastically Improve Any Medium
How I Define Drawing as the Foundation of All Painting
Drawing and painting are so deeply interconnected that it’s hard to talk about one without the other. I often describe drawing as the grammar of painting, while color functions as its vocabulary.
By focusing on drawing skills and understanding the two drawing principles, you establish a strong foundation—one that allows painting skills to develop more efficiently, more confidently, and with far greater control.
I frequently hear drawing and painting from observation—particularly realism—dismissed as mere “copying.” This is a profound misconception that overlooks what is actually happening in the artistic process.
Observational work demands intense seeing, thoughtful decision-making, and deep engagement with the fundamentals of art—an understanding of form, spatial relationships, and composition, along with the deliberate application of visual elements and principles such as shape, space, line, value, color, balance, proportion, rhythm, and harmony.
These observations are then reinterpreted through one’s own hand and mind.
Working from observation is not about reproducing what is in front of you. It is about learning how to see—and, more importantly, training yourself to see like an artist and to gain control over your visual choices. Observation is not the opposite of creativity; it is the foundation that makes intentional creativity possible.
Every artist’s journey is different. However, if you share the same values I do—or if these principles resonate with you—the methods and practices presented here will be especially meaningful and supportive of your artistic development.
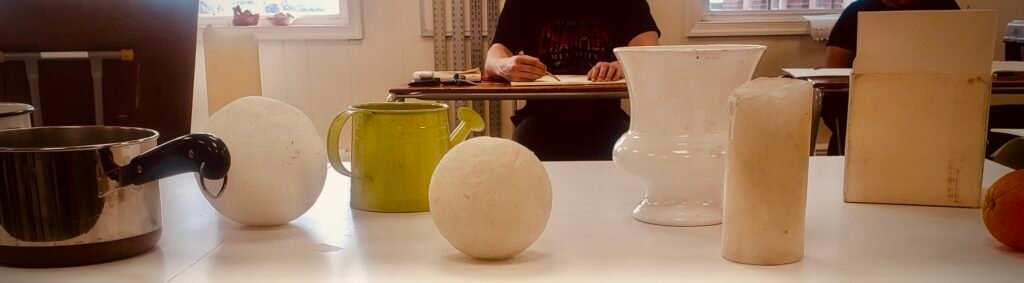
Repeated still-life practice is one of the most effective ways to build a strong artistic foundation, as the same fundamental principles extend naturally to portraiture and landscape work. As drawing skills strengthen, painting almost inevitably improves alongside them.
Even abstract art depends on these core fundamentals, which is why so many renowned abstract artists have a background in rigorous drawing and representational practice.
Developing these “artistic muscles” and cultivating a trained eye takes time, but this investment allows you to later invent your own visual language, experiment confidently across different mediums, and explore any area of art with intention and control.
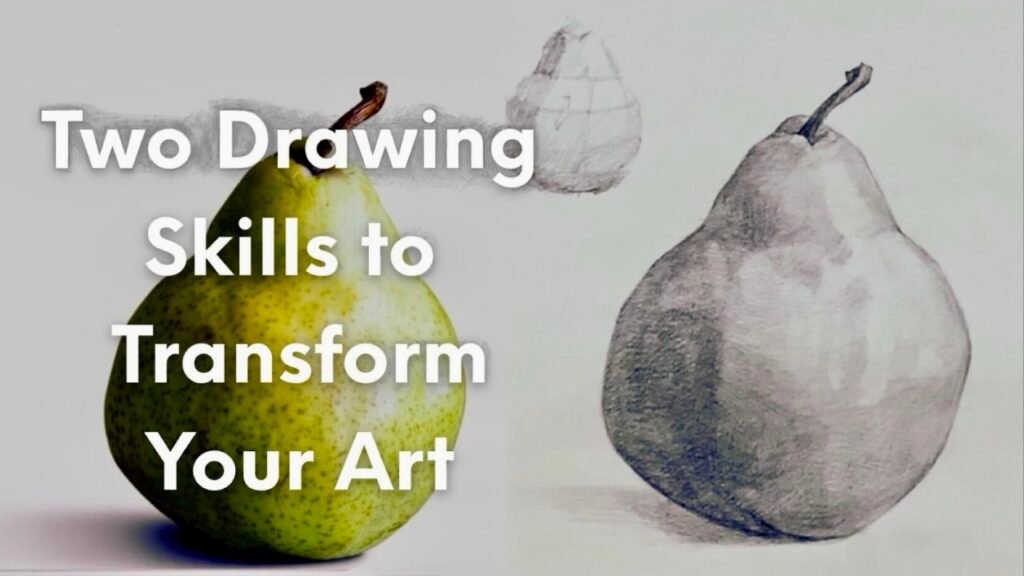
A Simple Pear and Two Critical Drawing Questions
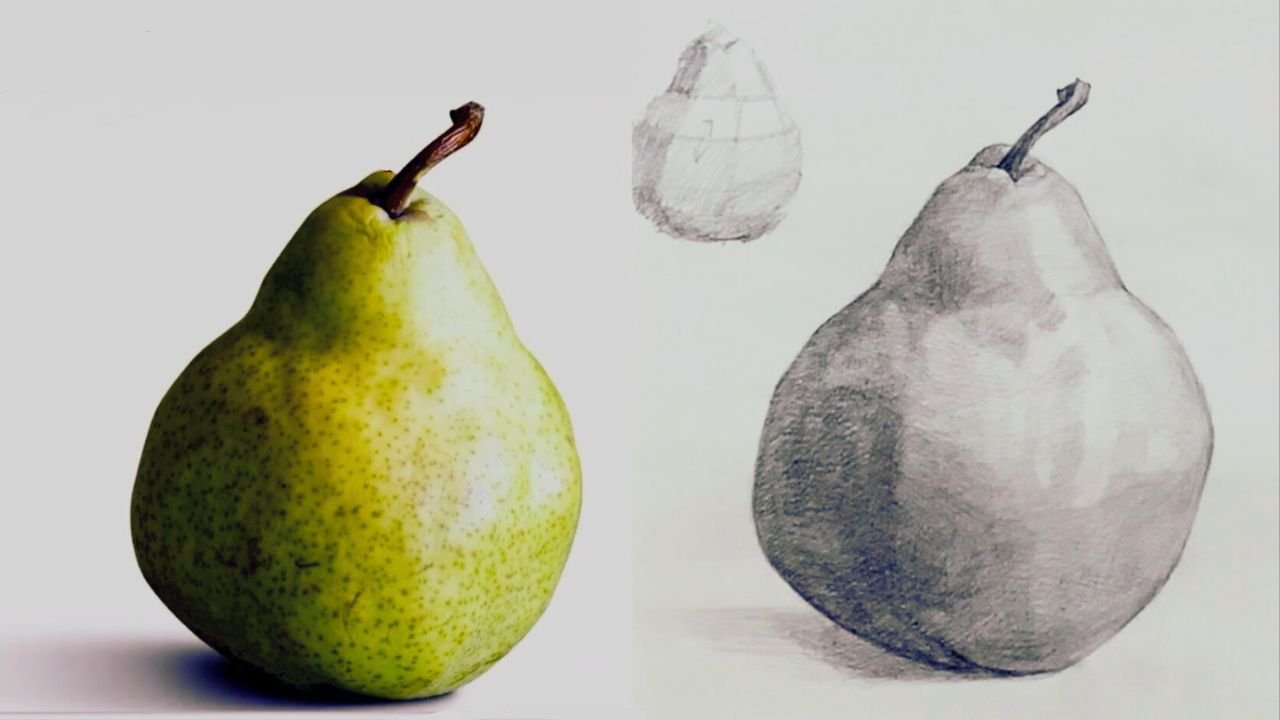
In this demonstration, the subject is very simple—a pear—but it holds a few powerful ideas you can apply to almost anything you draw or paint. The focus here is on two core questions:
A. How to draw the form accurately
B. How to render three-dimensional objects convincingly
This post will concentrate on these two aspects only. Other crucial topics—such as proportion, edges, and composition—are substantial enough to deserve their own dedicated articles, and those will be addressed separately.
Existing related posts like “How to Start Drawing Any Object” and The Value Contour Map in “Value: Lesson2” will also support what you learn here.
From years of observing common struggles, most drawing problems stem from these two core issues: inaccurate form and weak three-dimensionality. When you begin to solve those, your drawing—and by extension, your painting—can improve dramatically.
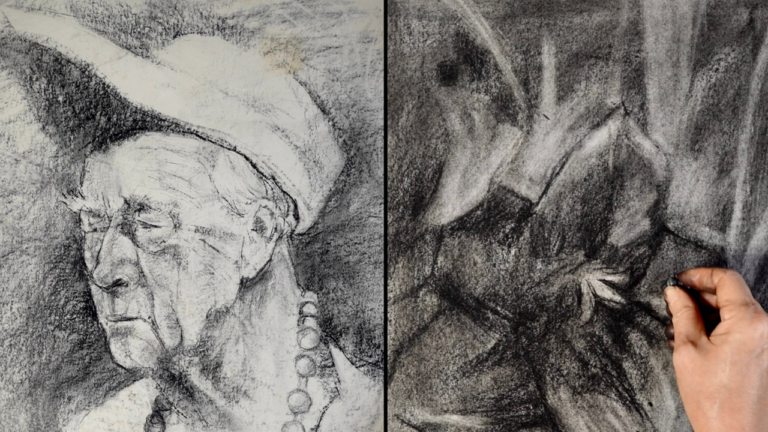
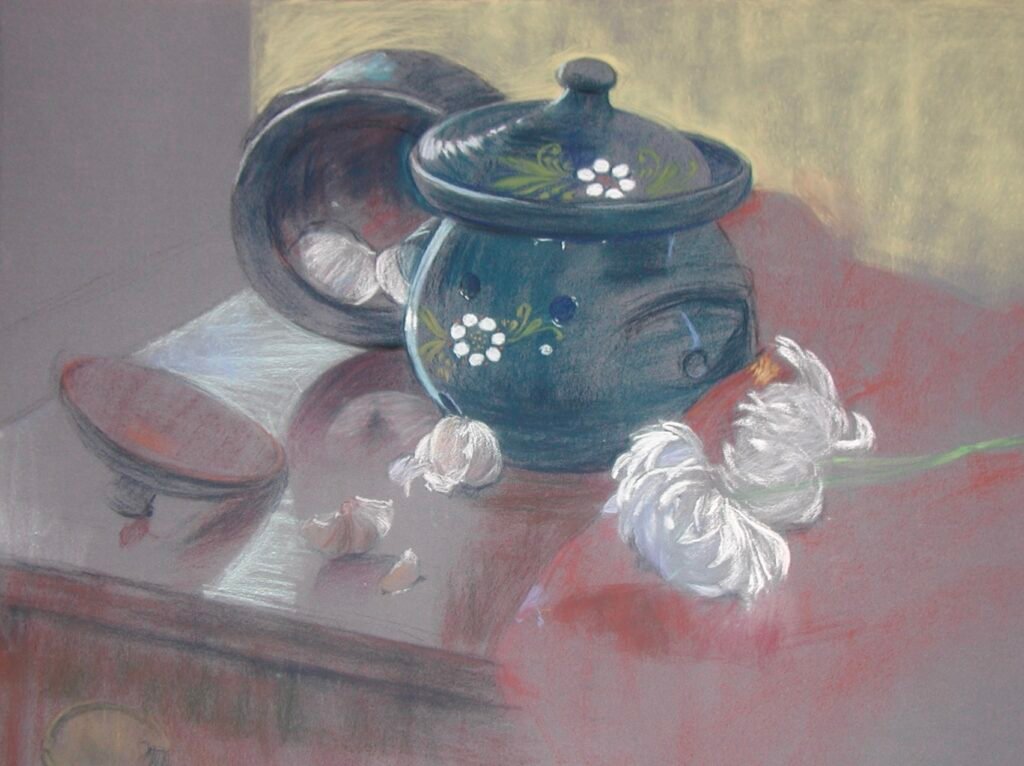
The following examples show common issues I often encounter in student work. They are included not as critiques of individuals, but as learning tools to help identify patterns that can limit clarity and solidity in drawing and painting.
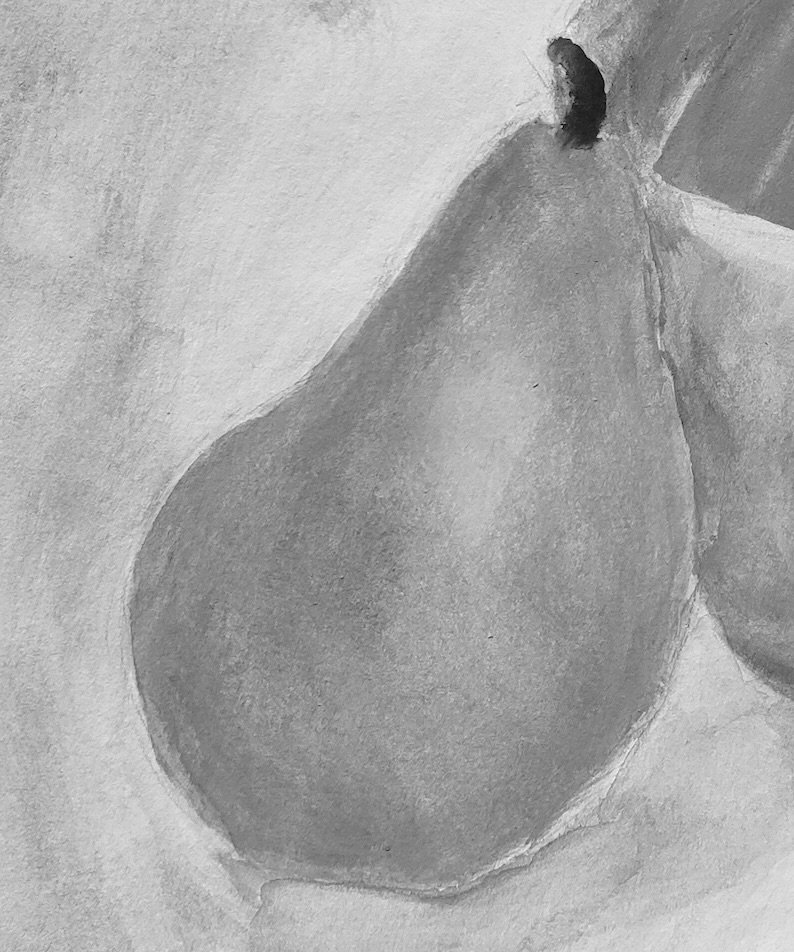
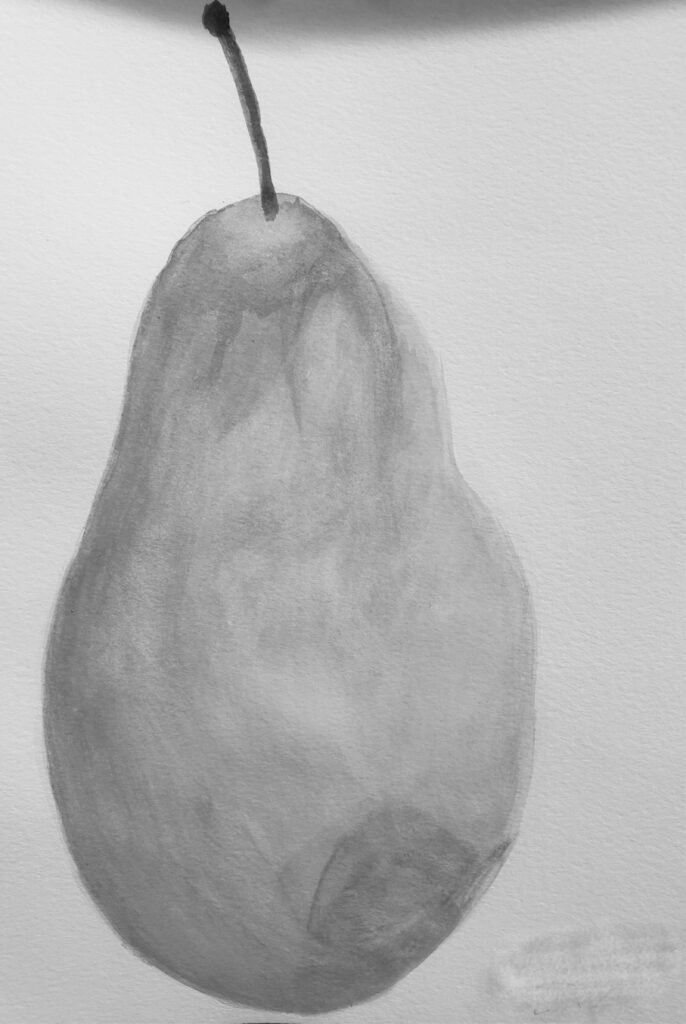
These images are cropped and desaturated details from watercolor still-life studies. Color has been intentionally removed so we can focus purely on value and form.
Together, they highlight two challenges frequently seen in early stages of learning: an inaccurate contour describing the overall form and an underdeveloped value structure. While the surface handling shows beautiful sensitivity, the forms read flat due to a limited value range.
From Shape to Form: A Step-by-Step Form and Value Practice
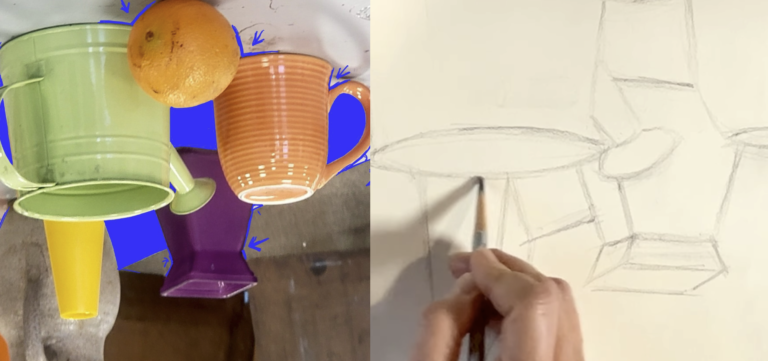
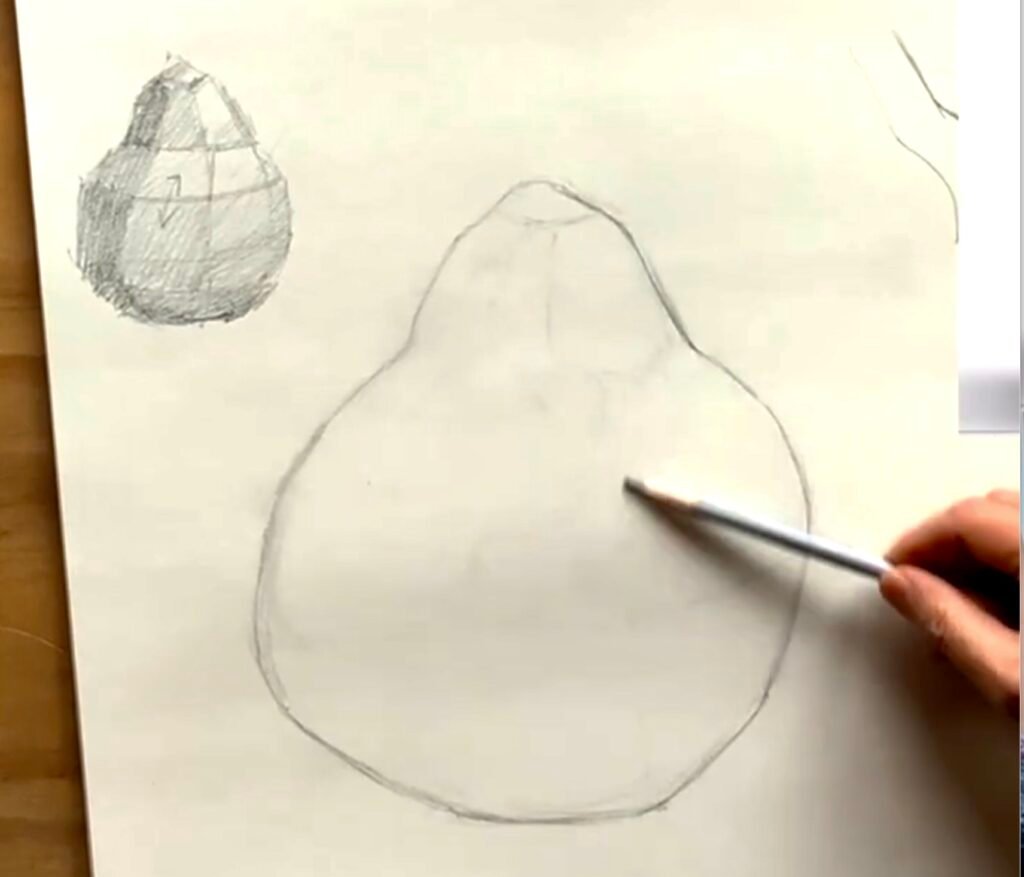
1. Start with simple shapes
- Block in the pear with straight lines and angles before introducing curves.
- Focus on the overall silhouette and major proportions, not details.
At this stage, accuracy of placement is more important than refinement.
2. Refine contour and edges
Gradually clean up the sketch by replacing straight lines with subtle curves and defining the contour more clearly. This refinement can happen alongside early value work rather than as a separate step.
Begin introducing edge variation:
- Use softer edges where the form turns gradually.
- Use firmer edges near cast shadows or sharper value changes.
- Allow lost edges where light dissolves the boundary between the pear and the background.
Avoid outlining the form evenly; let edges respond to light and structure.

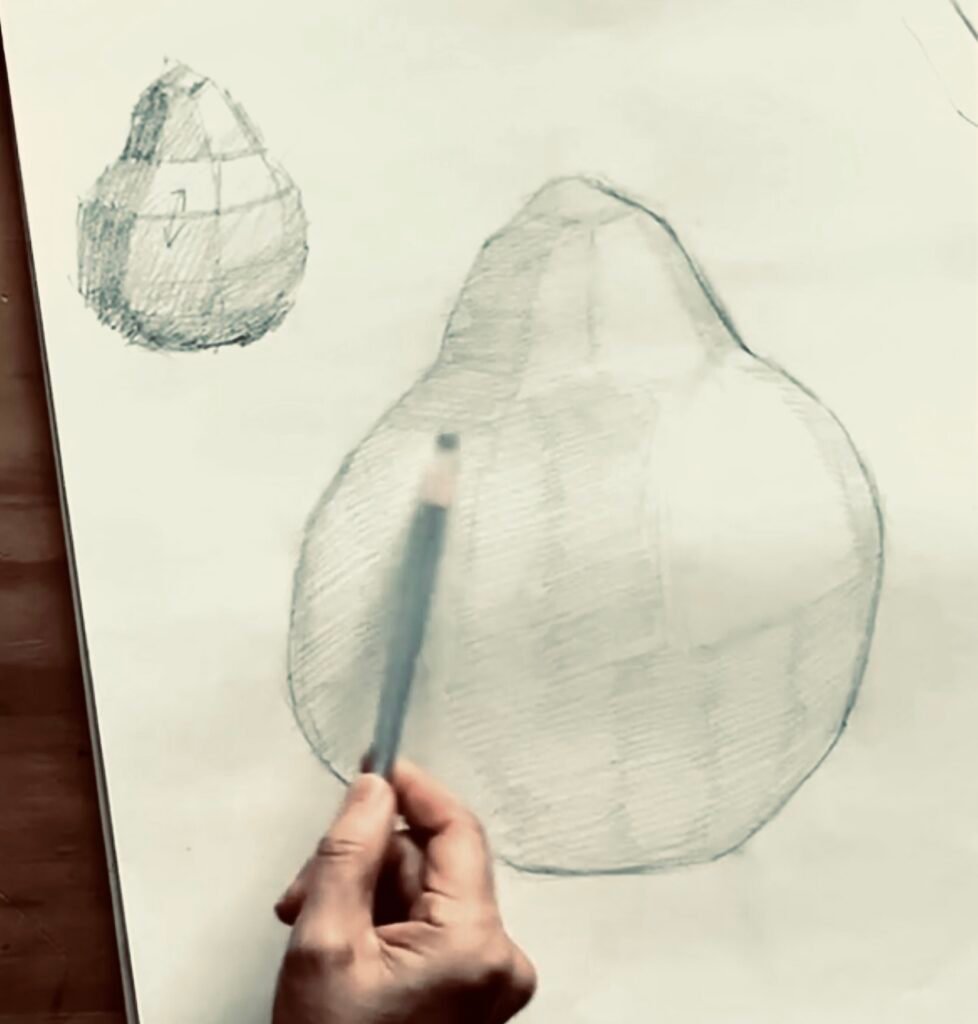
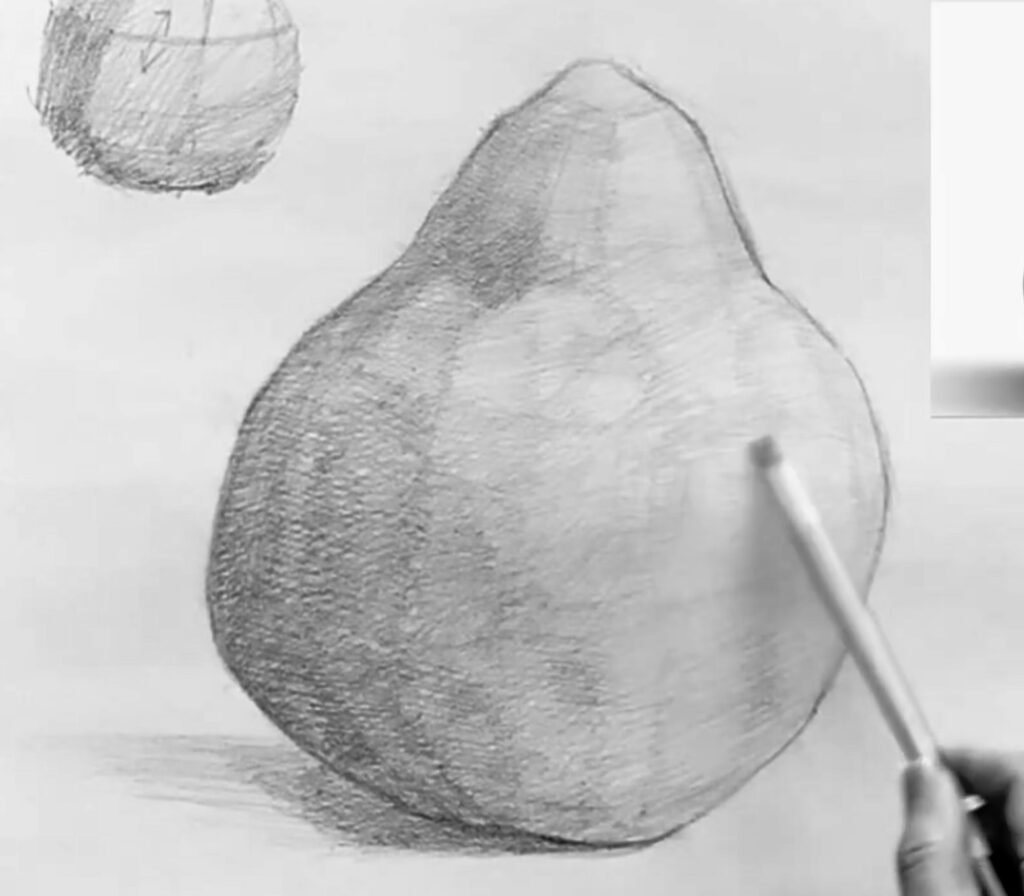
3. Think in 3D form
After establishing the overall shape, begin constructing the pear as a three-dimensional form—as a solid mass, not just an outline. Separate light and shadow to establish structure, using simple, straight dividing lines to organize the form into simplified value zones or planes.
Keep these imaginary structural or planar lines in mind no matter what subject you draw or paint; thinking in planes with different values clarifies where the light logically shifts.
This value zone method helps you understand the object as a whole before moving into detail, prevents flatness, and creates a strong structural foundation.

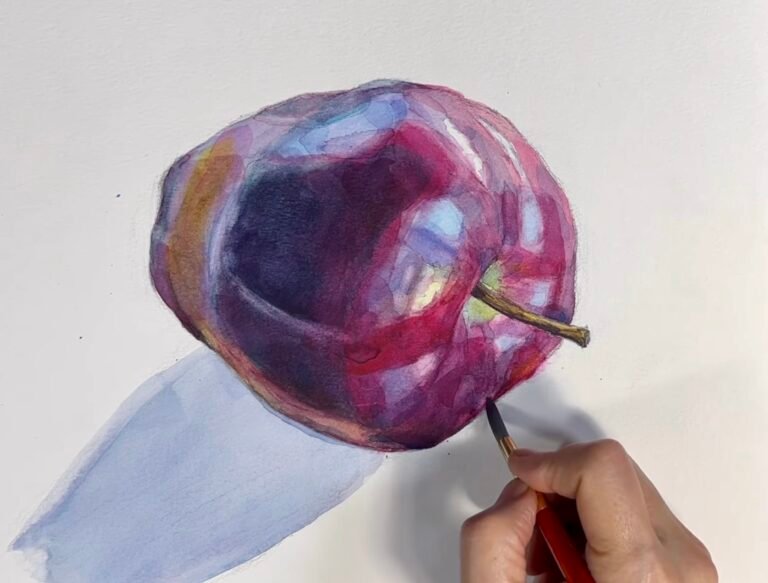
4. Value: the most transformative skill
First, clearly separate the light side, shadow side, and cast shadow before adding nuance. Squint to see the pear as a few big value masses, then lay them in as flat tones. Group values into just 3–5 steps at the start (for example: light, medium, dark, core shadow, cast shadow).
Think of the value‑zone approach with planar lines as your rough structural draft, and the value contour map as the next, more refined stage. Once you’ve blocked in the big value zones and planes, you should then apply the value contour map to define the actual value transitions and create a more lifelike sense of form. Used together in this order, they train different levels of seeing—first the big structure, then the subtle shifts—and lead to much stronger, more controlled drawings over time.
The value contour map can function as a mental guide once you become familiar with value relationships. For beginners, however, it is often more effective to create a physical value contour map—either by writing value numbers or lightly sketching the contour lines directly on the work.
This deliberate process forces you to slow down and remain consciously aware of how values change across the form instead of guessing. Practicing with this heightened awareness can significantly accelerate technical improvement.
5. Refinement
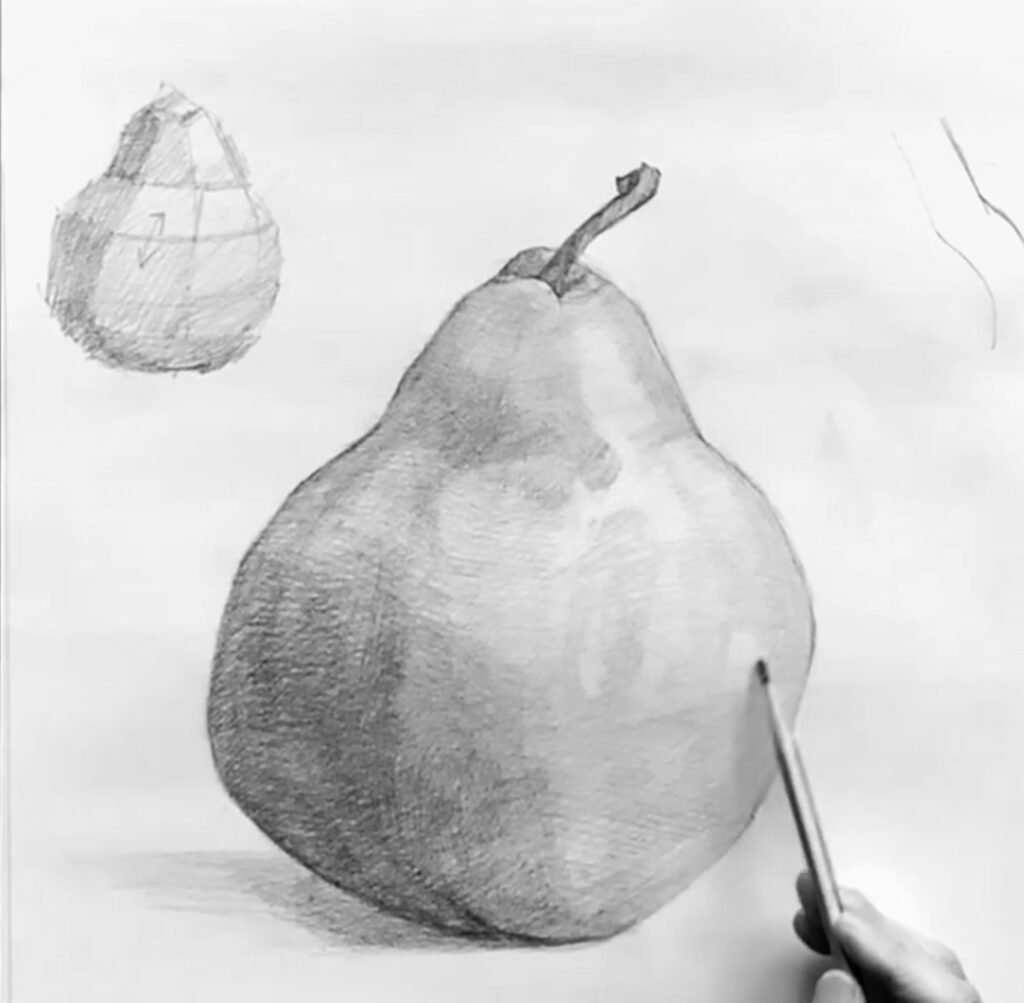
Refine the drawing by introducing subtle value adjustments and nuanced value relationships within the established value structure. Avoid getting lost in minor details. Maintaining the clarity of the overall value organization is far more important than describing every subtle variation.
In many cases, simplifying values rather than multiplying details actually strengthens the drawing and makes the form read more convincingly.
Highlights, if needed, should be introduced sparingly and only where they reinforce the logic of the light.
For a full demonstration and extended explanation, please see the related video on my YouTube channel.