Watercolor Basics: Essential Techniques & How to Do Them
Watercolor has a unique character—fluid, transparent, and luminous—that comes alive through skilled technique. My demonstrations highlight core methods: flat wash, graded wash, wet-on-wet, and glazing. Each technique produces its own distinct effect, and mastering these foundations sets the stage for confident watercolor painting.
Materials You’ll Need
- Watercolor Paper: Use 140 lb (300 gsm) cold press paper for absorbency and a pleasant texture.
- Paints: A set of 6–12 pan or tube colors. Student grade is fine for practice; artist grade offers richer pigment if the budget allows.
- Palette: Mixing palette or a white ceramic/plastic plate for blending.
- Brushes: Round brushes in various sizes (#2, #6, #10 or larger), plus a large (1″) flat/wash brush for backgrounds.
- Paper Towels.
- Pencil & Eraser: For light sketching.
Note on Black and White in Watercolor
Unlike other mediums, watercolor shines because of its freshness and transparency. Black and white paints can easily make colors look muddy, which is why they are typically avoided.
Working without black and white is a valuable exercise—it pushes you to expand your color vocabulary, mix more intentionally, and create luminosity by layering rather than relying on shortcuts. Personally, I rarely use black or white in any medium—not even acrylics—and especially not in watercolor.
Foundational Watercolor Techniques
1. Flat Wash
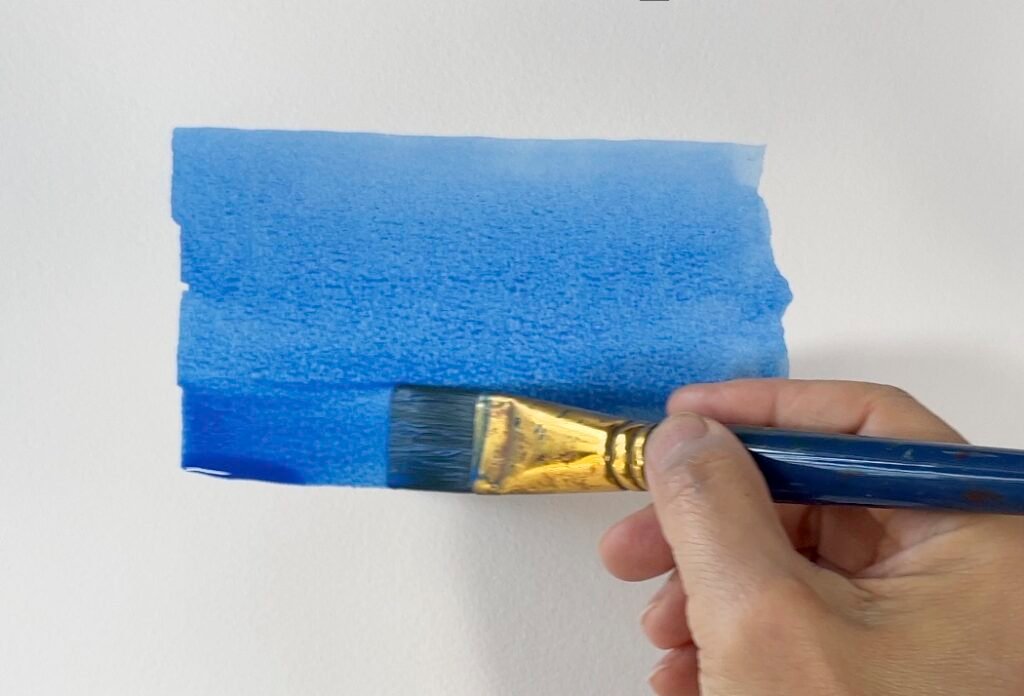
- What: An even, uniform layer of color.
- How: Mix ample, diluted paint (to avoid running out mid-way). Load a flat brush, start at the top, and pull horizontal or slightly zigzag strokes, overlapping each slightly. Keep the paper gently tilted to aid gravity and avoid streaks.
- Use: Skies, calm water, areas needing solid color.
2. Graded Wash
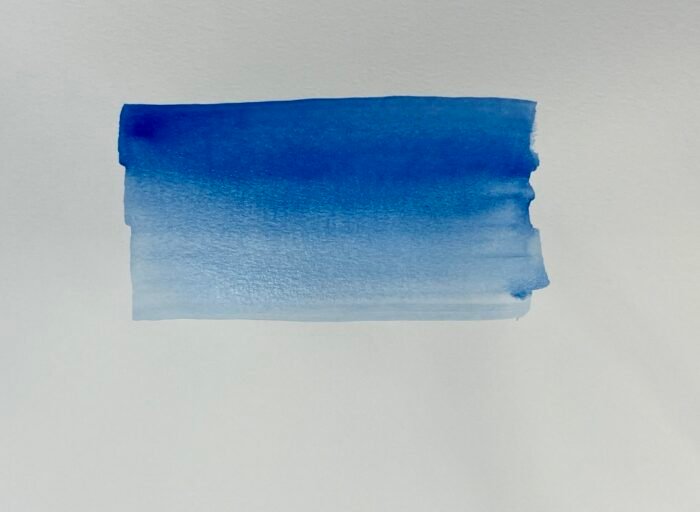
- What: Color transitions smoothly from dark (rich) to light (dilute).
- How: Start with a strong stroke at the top. For each lower stroke, add more water, painting downward until the color fades.
- Use: Skies receding to the horizon, atmospheric depth.
3. Wet-on-Wet
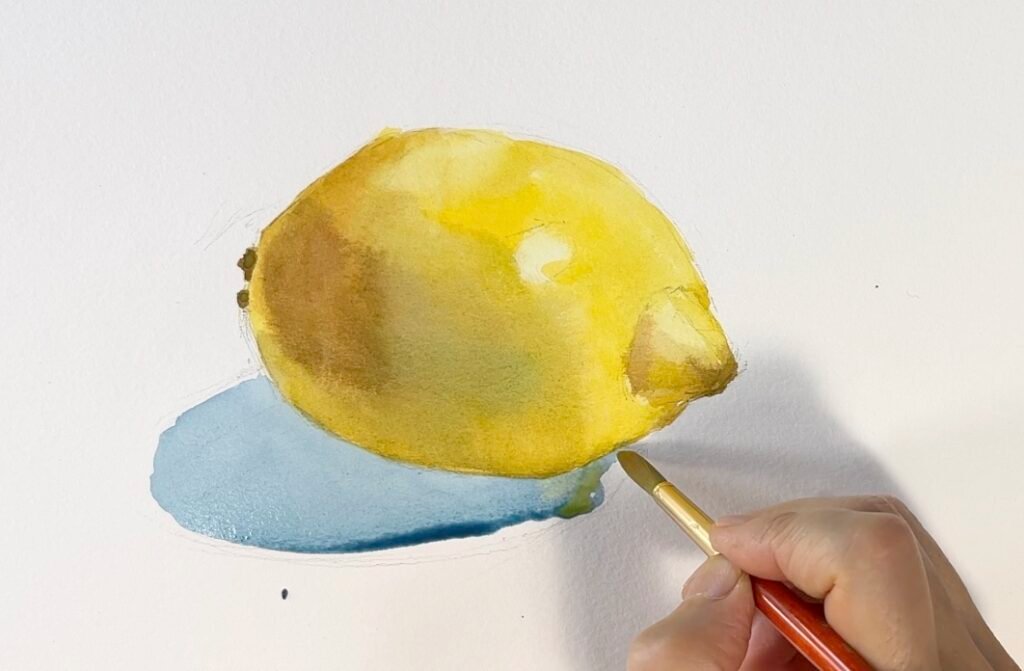
- What: Paint while the surface is still damp.
- How: Control the wetness of the paper—it’s the key. Paint while the surface is still damp, but don’t rush. If it dries, lightly rewet. Pigments flow and blend naturally, creating “blooms.”
- Use: Clouds, backgrounds, organic color transitions.
4. Glazing (Layering)
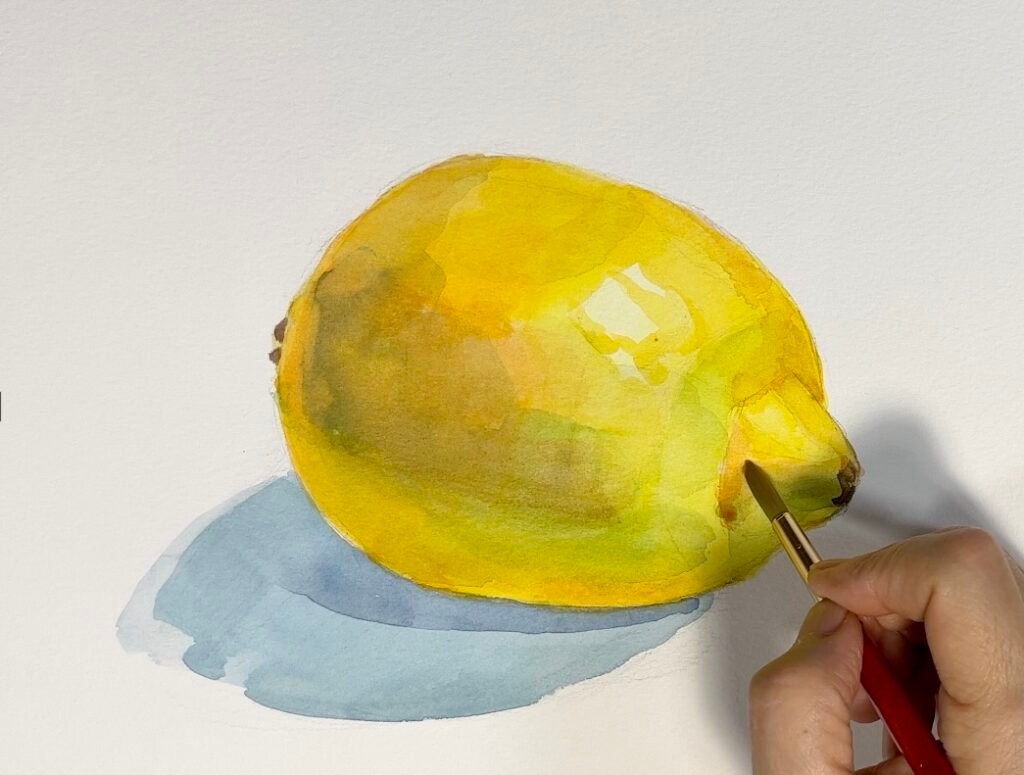
- What: Building up image depth with successive, transparent color layers.
- How: Paint a layer and allow it to dry completely. Apply additional transparent washes on top, adjusting color and value as desired.
- Alternating cool and warm layers can intensify effects.
- Use: Shadows, luminosity, depth, and glowing effects.
Tips for Beginners
- Vary the water-to-paint ratio to observe changes in opacity and flow.
- Pay attention to the surface’s wetness; timing is crucial for controlling texture and edges.
- Always keep clean water, a mixing palette, and paper towels close by for best results.
Mastering these techniques gives every watercolorist—from beginner to advanced—a reliable toolkit for expressive, fresh, and luminous paintings.