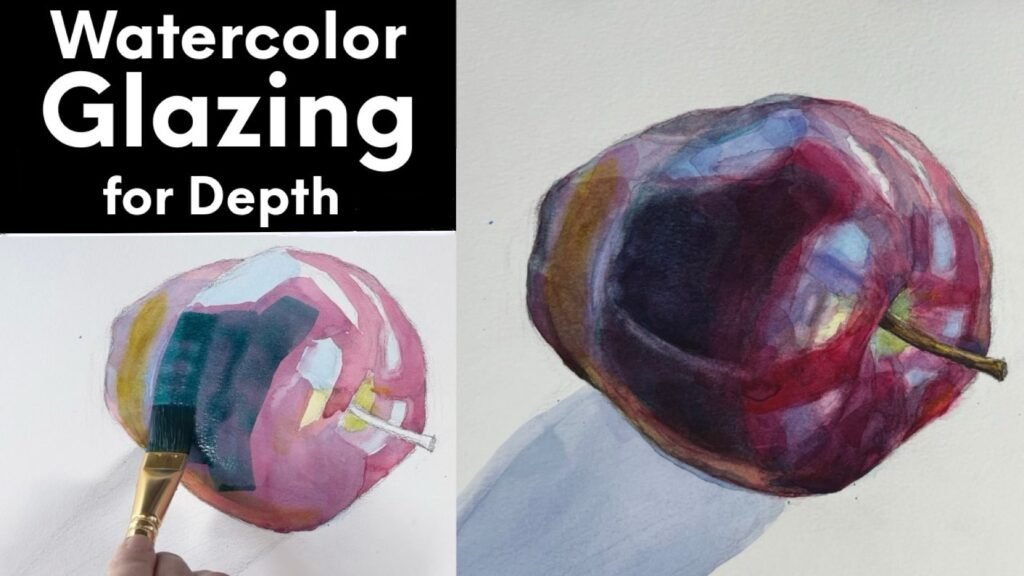

Watercolor Glazing Explained: Depth, Luminosity, and Control
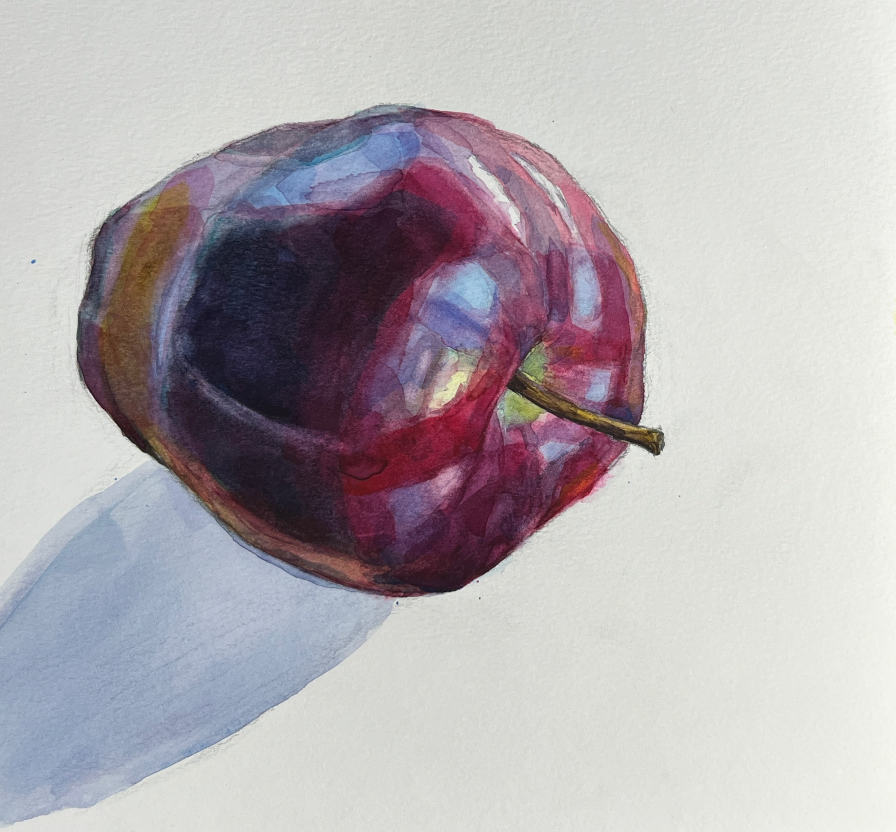
Many viewers have expressed interest in the watercolor glazing technique in the previous demonstration with a lemon, and for this demonstration I chose a single red apple as the subject. You can use the glazing method on its own or combine it with other watercolor techniques.
In watercolor, glazing refers to the process of building depth and form through multiple transparent layers of paint, each applied only after the previous layer has fully dried. Rather than covering earlier washes, glazing allows light to pass through successive layers, creating luminosity and richness that cannot be achieved in a single pass.
More Than Just Steps
The basic steps are easy to describe, but true control comes only with practice. So much depends on sensitivity developed through experience rather than on fixed instructions, since each painting situation continually changes.
One must learn to judge how much water and pigment to use, when to apply subsequent layers, in which direction to place brushstrokes, and how many layers are necessary to achieve the desired depth—all decisions that cannot be fully standardized.
Common Difficulties: Muddiness and Paper Damage
From my experience, the most frustrating challenges in glazing are muddiness and damage to the paper caused by excessive reworking. Luminosity and freshness are essential in watercolor.
To preserve them, it is crucial to minimize unnecessary returns to the same area and to limit physical contact between the brush and the paper surface. If you have painted in watercolor before, you probably recognize these issues, because they are very common.
The Central Dilemma of Glazing: Balancing Layers and Luminosity
At the same time, glazing relies on the accumulation of multiple transparent layers. If too few layers are applied, depth is compromised and values may remain inaccurate. This creates a persistent dilemma: returning to an area too often risks dullness and surface damage, while limiting layers too much prevents the development of form and richness.
The essence of glazing lies in balancing these opposing demands, and this balance can only be achieved through repeated practice and attentive observation.
Further Resources and Focus of This Post
For explanations of other watercolor techniques, including an earlier demonstration related to glazing, please refer to my previous blog post and video, Watercolor Basics: Essential Techniques & How to Do Them.
In this post, the emphasis is placed on the visual process and key demonstrations. For a complete, step-by-step explanation, I encourage viewers to review the accompanying YouTube demo. By limiting the subject to a single red apple, compositional complexity is removed, allowing us to focus entirely on how transparent layers build volume, depth, and luminosity.
Definition and Core Concept of Watercolor Glazing
Glazing in watercolor is the process of building form, color depth, and light through multiple transparent layers, each applied only after the previous layer has completely dried. With each successive glaze, the color is subtly altered—often in value and sometimes in temperature—while earlier layers remain visible beneath the surface.
Key Points of Glazing
- Glazing is optical mixing, not physical mixing on the palette; colors blend in the viewer’s eye through stacked transparent layers.
- The goal is luminosity, not opacity, so mixes must stay transparent.
- Glazing is always wet paint on a dry surface; if the paper is even slightly damp, colors will bleed instead of layering cleanly.
- Minimize contact with the paper surface and get as close as possible to the correct value with each pass, rather than repeatedly scrubbing the same area.
- Working from light to dark, add only as many layers as needed for depth.
Step-by-Step Glazing Process
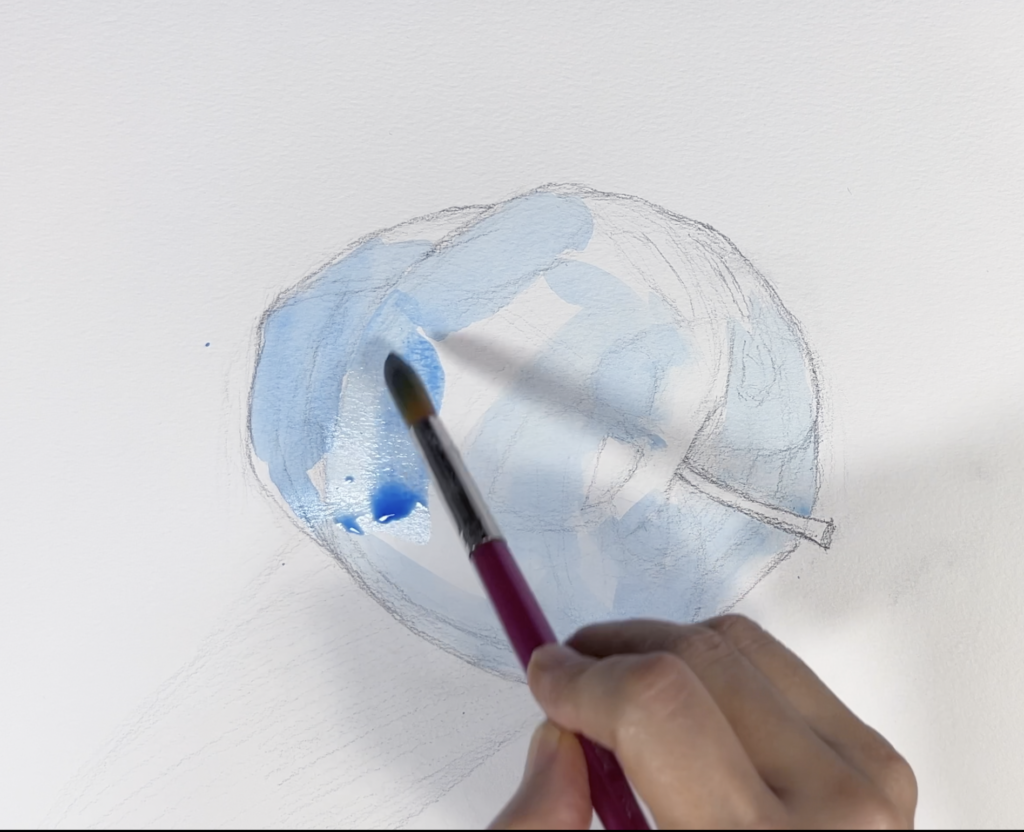
1. Base Shape and First Light Wash
I begin by establishing the base shape of the apple and carefully preserving the highlights. At this stage, I work with the next lightest value.
Once the wash is applied, I allow it to dry completely. A simple way to check dryness is by touch: if the paper feels cool, it is still damp and not yet ready for glazing. Applying a new layer too early will cause colors to bleed and possibly damage the surface.
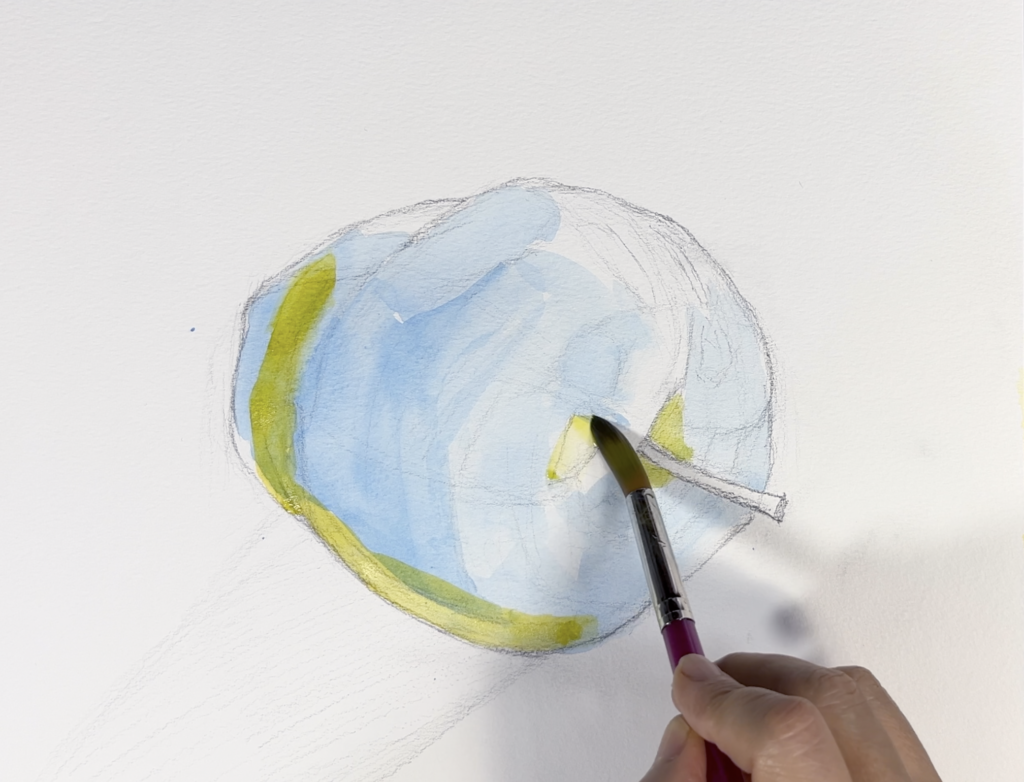
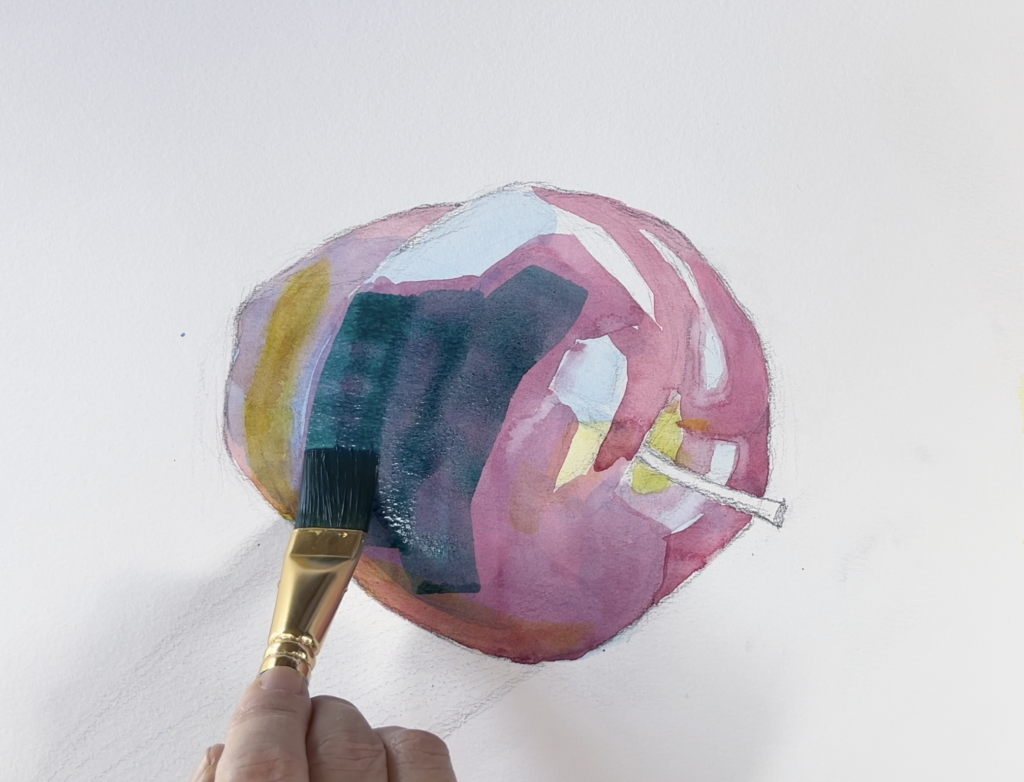
2. Building Color with Transparent Glazes
After the first layer has fully dried, I apply a second transparent glaze over the apple, deliberately avoiding the highlight so that it remains bright. Each glaze is applied with restraint and intention. With every new layer, I wait again for the paper to dry completely.
Darker glazes are placed only in the shadow areas, gradually increasing value to model the form; color temperature can be alternated, as in the demo, to emphasize transparency, though this is optional.
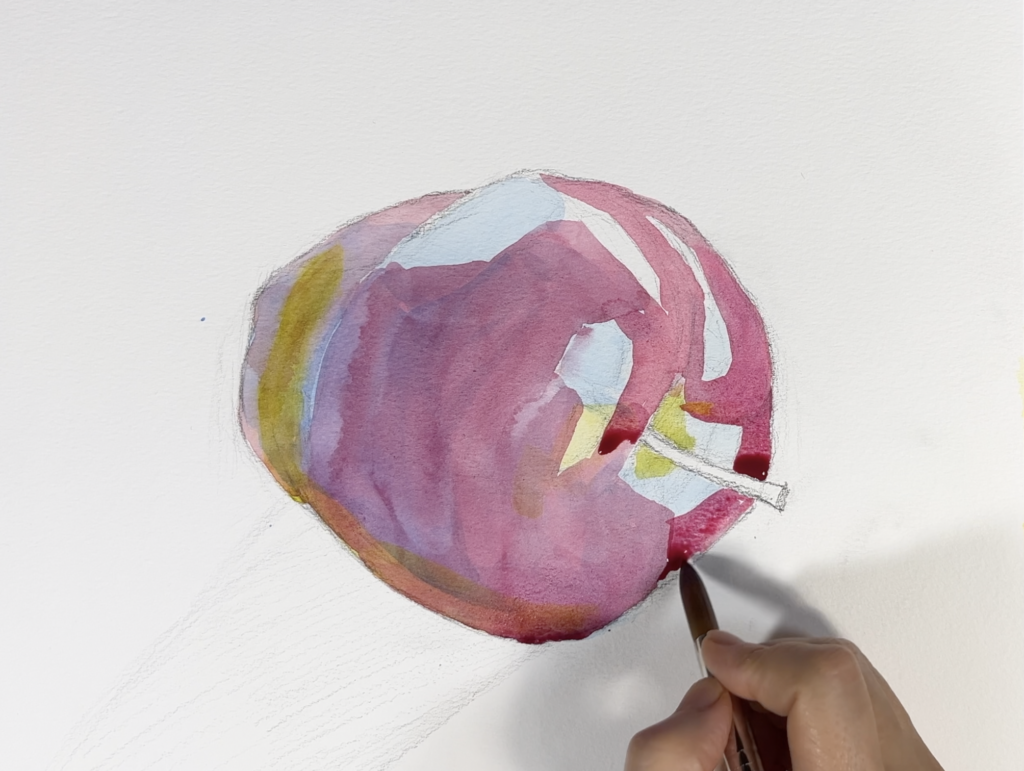
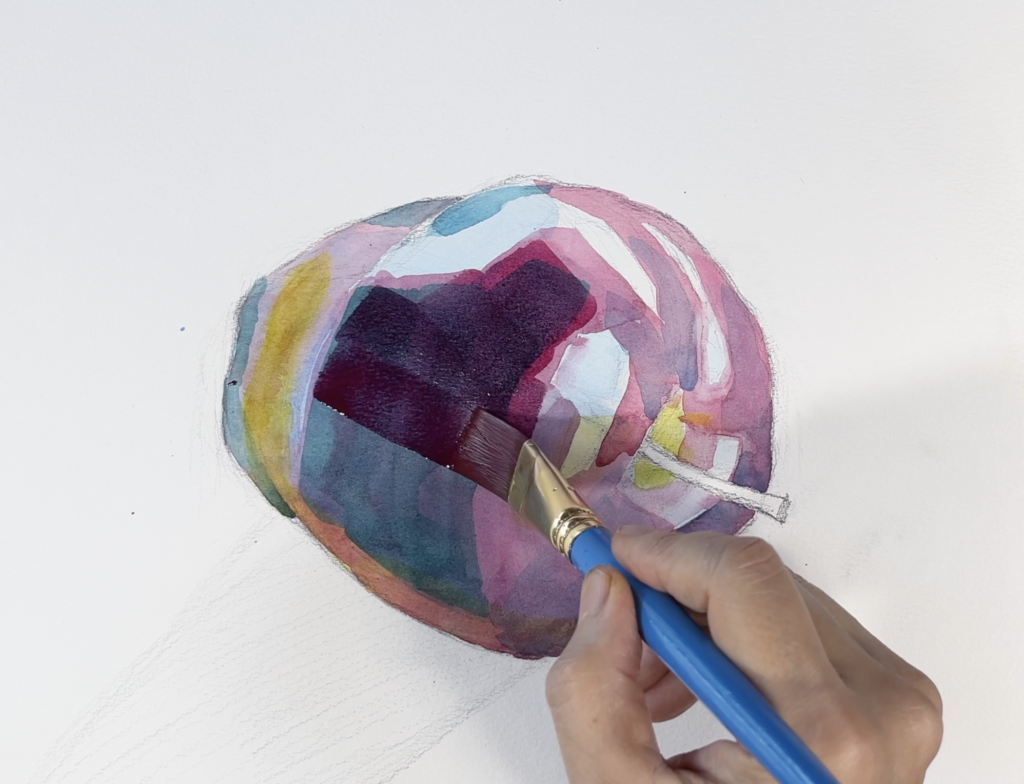
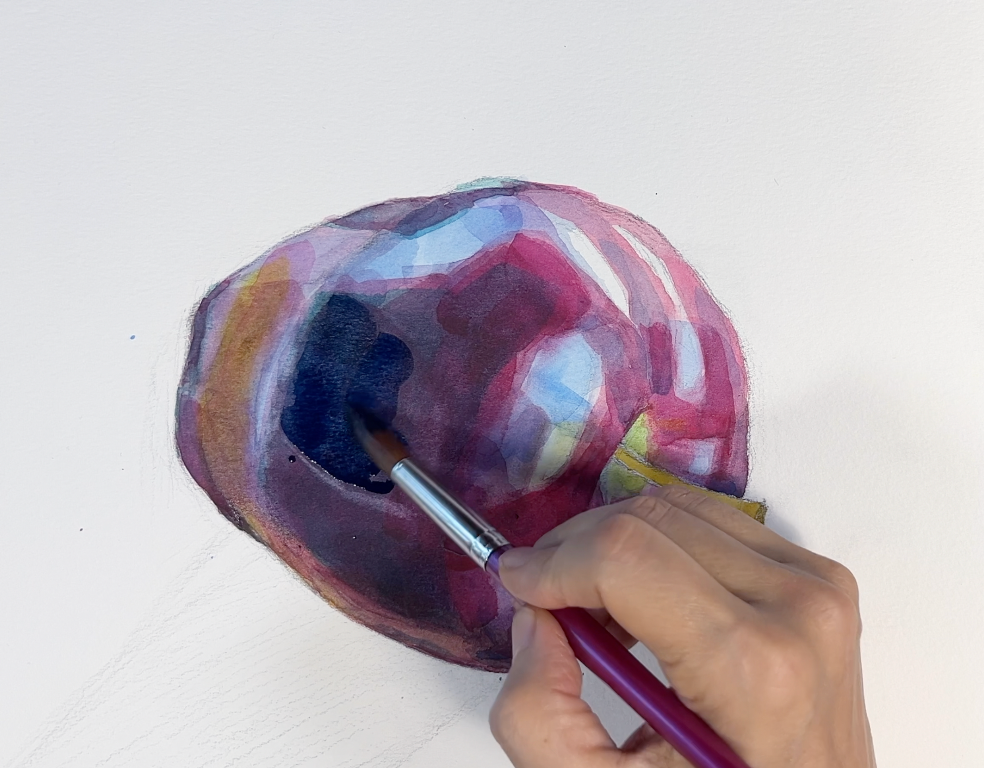
3. Deepening Shadows Without Losing Transparency
To deepen the red shadows, cooler transparent colors such as blues or greens are glazed in instead of black, which can make the painting look dull. Where two or more glazes overlap, the color appears richer and darker. This transparent optical layering creates depth without muddiness of the surface, which is one of the essential advantages of glazing.
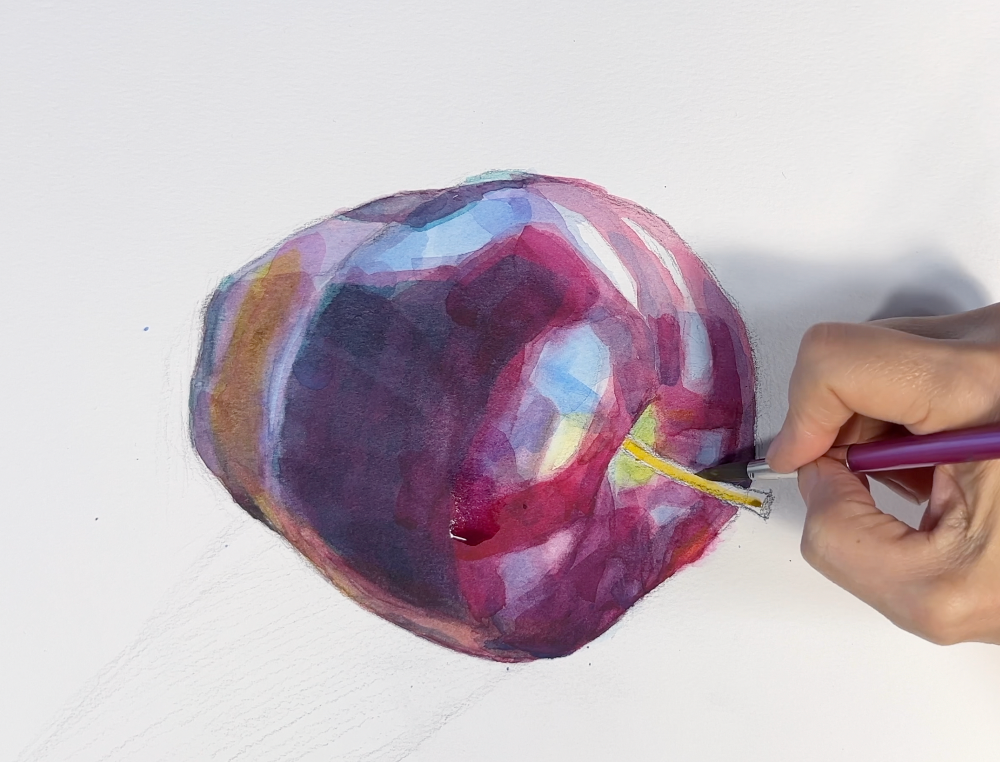
4. Hard and Soft Edges & Final Accents
In the last stage, subtle color variations and reflected light are adjusted, softening hard edges where needed so transitions feel natural and rounded.
I then add final accents, and carefully emphasize a few edges in the darkest areas to clarify structure and complete the form.
Like all glazing techniques, this process rewards patience, restraint, and close observation—skills that develop over time rather than through a single demonstration.
The images in this post and the accompanying YouTube video show these stages in action.
Please click the image.